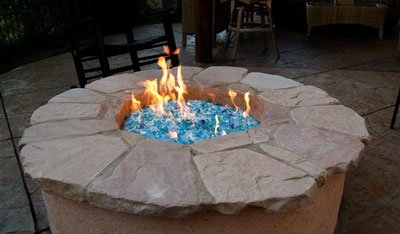
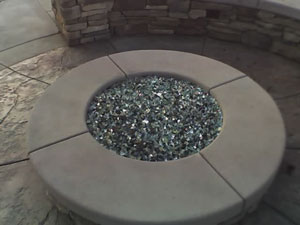
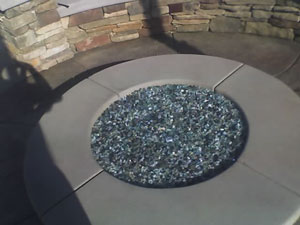
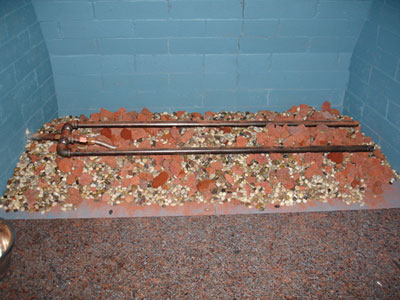
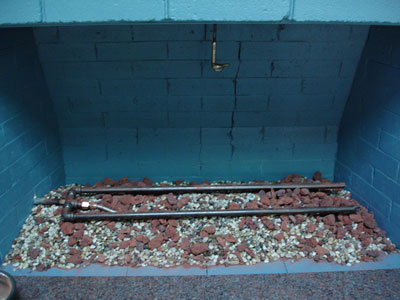
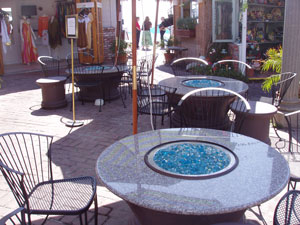
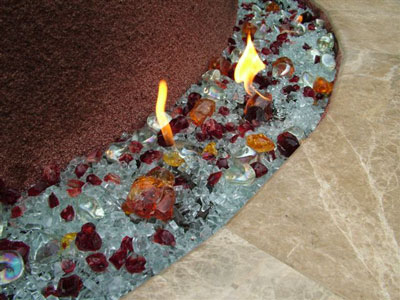
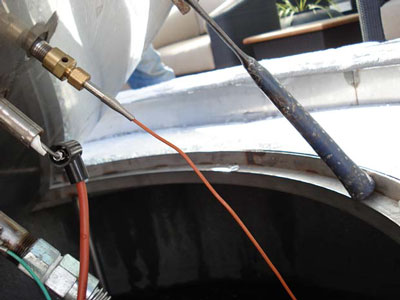
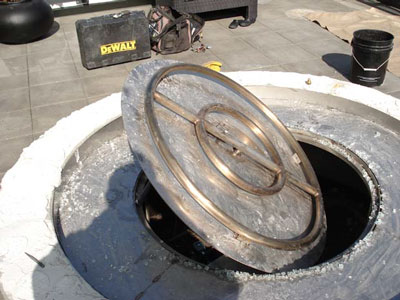
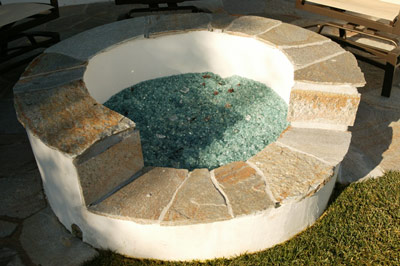
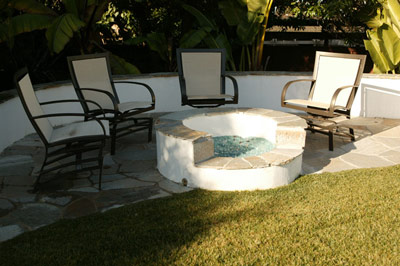
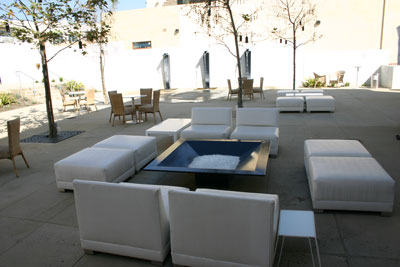
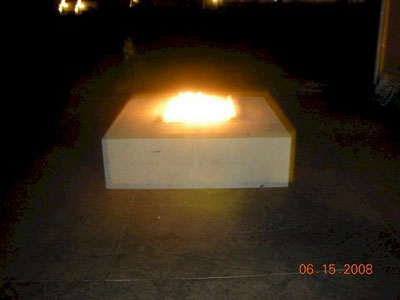
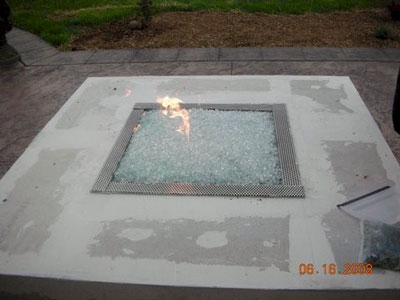
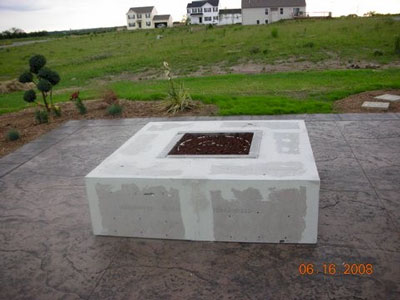
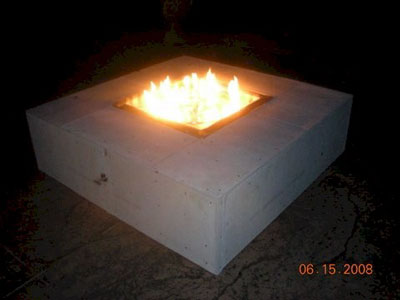
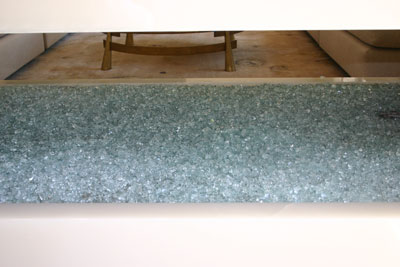
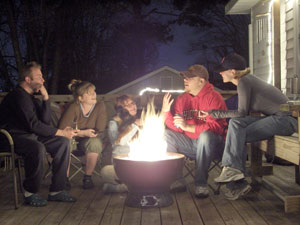
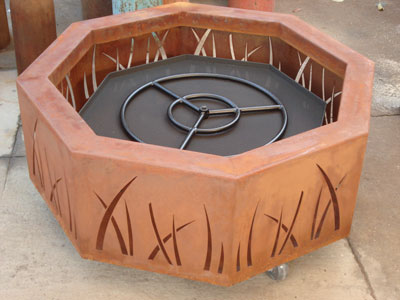
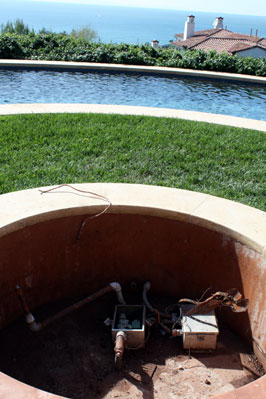
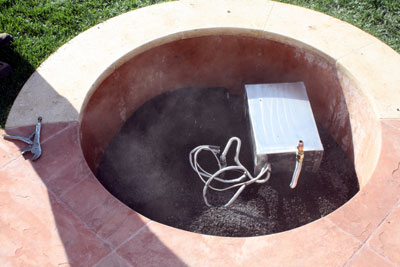
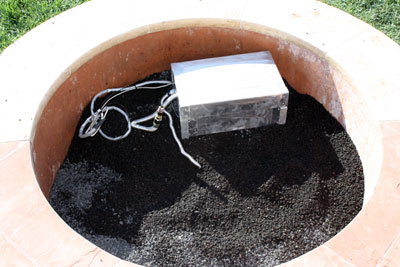
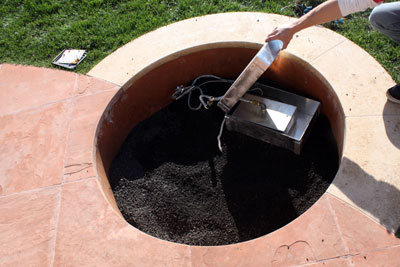
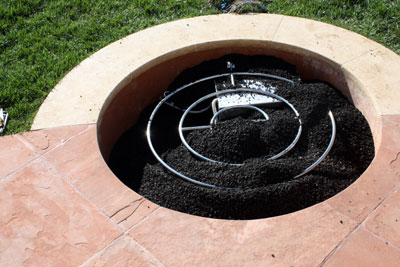
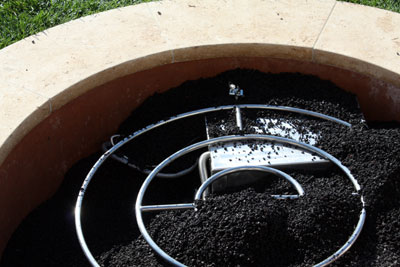
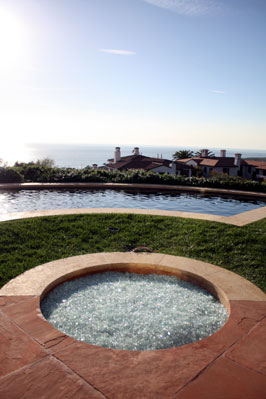
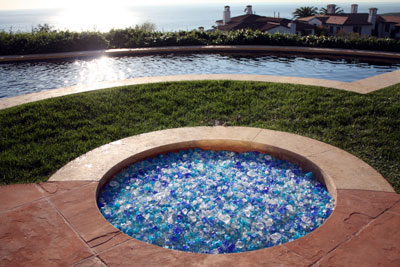
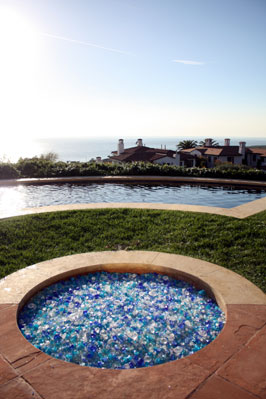
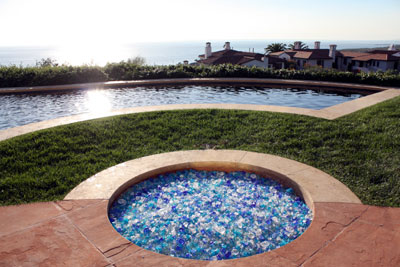
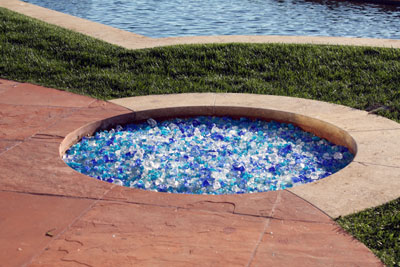
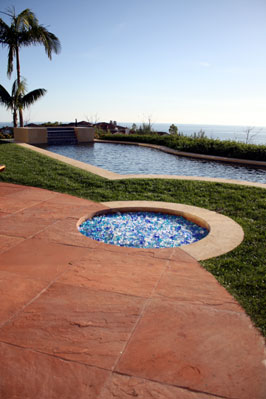
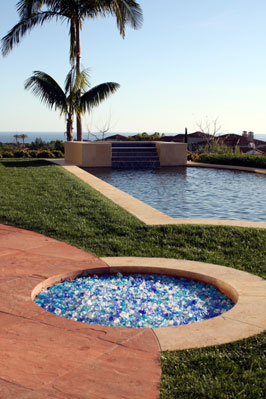
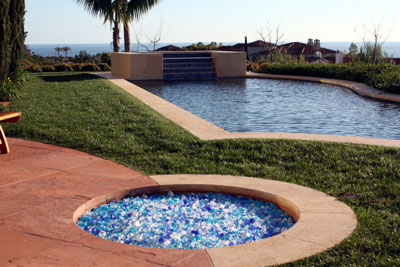
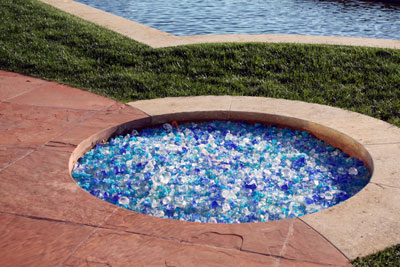
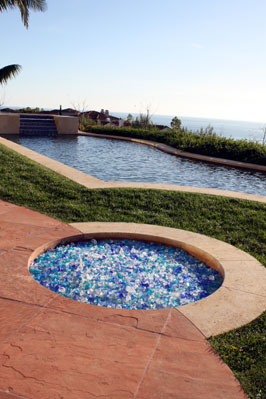
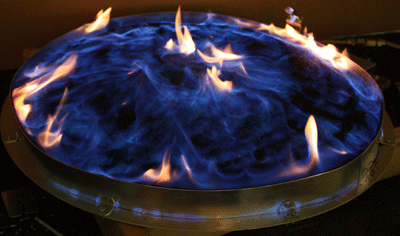
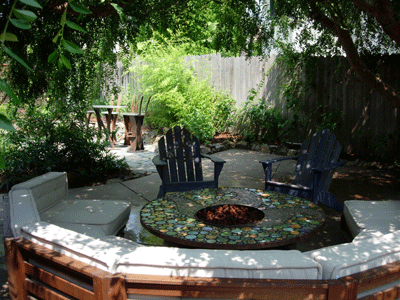
The fire pit below is in Newport Beach California at Newport Coast Development. We replaced a hot spark ignition which did not work, with our
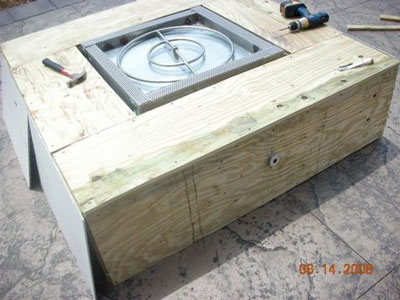
. The fire pit was 18" deep and 48" across. This is what was installed:
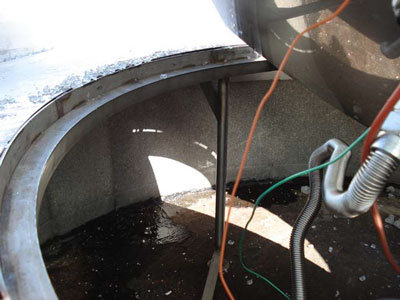
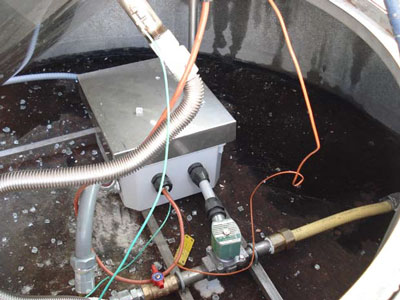
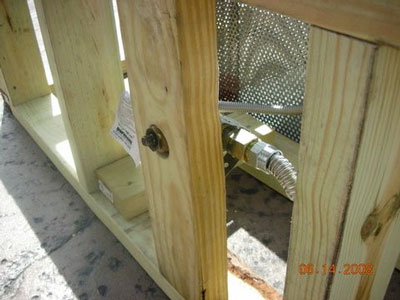
The electronics can be accessed if ever there was a failure of the equipment and you can access it from the surface. Before the equipment was 20 inches below the surface, not a very good idea!
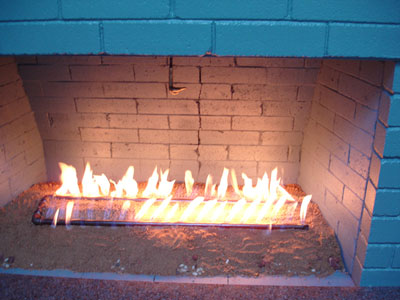
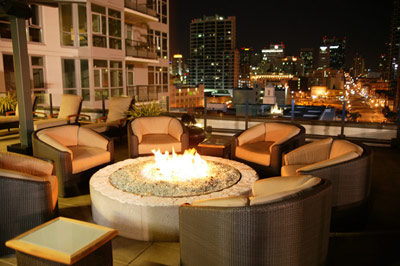
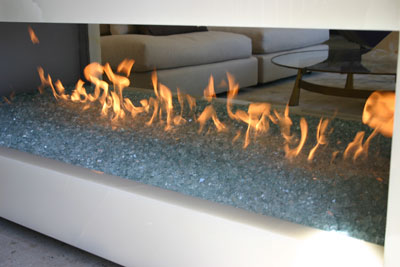
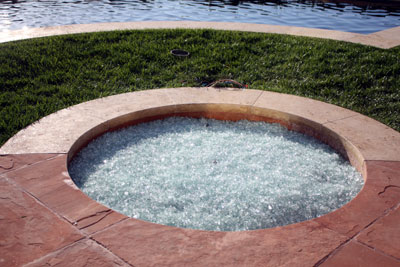
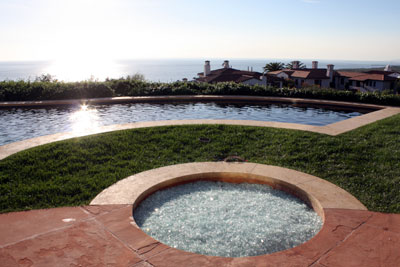
We only did the fire pit, not the view. That came with the home. But one very impressive view!
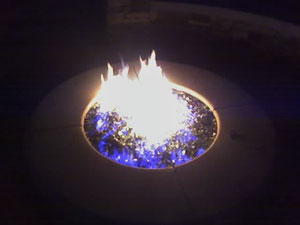
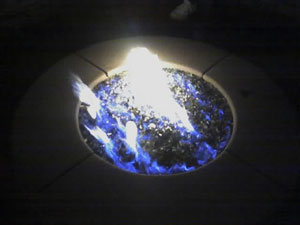
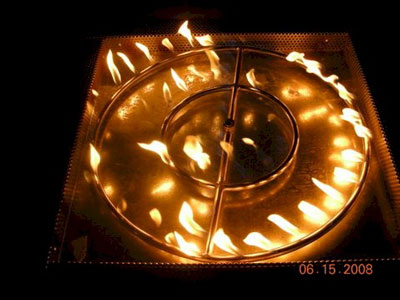
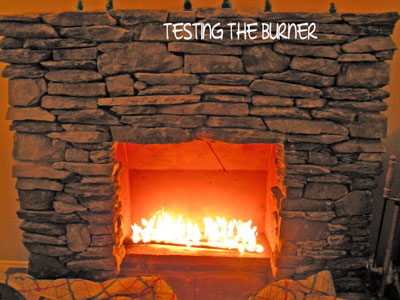
We tried to get pictures of it burning, but the flames just didn't show. Look above and you can see a flicker in the daylight. Actually the flames were over 16" tall but you can't see this in daylight.The contractor will get a few night pictures when they and if they can.
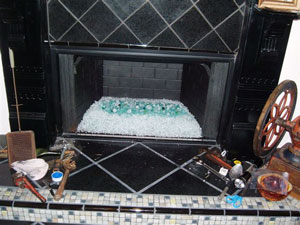
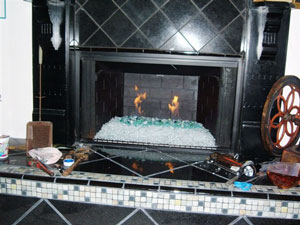
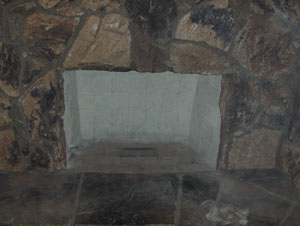
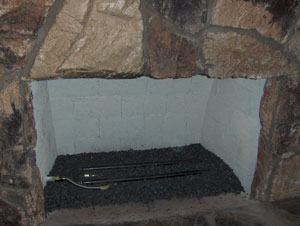
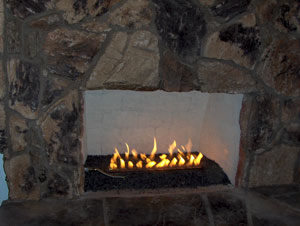
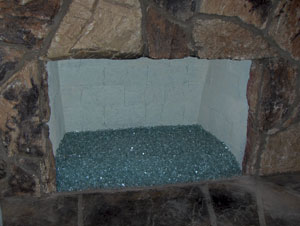
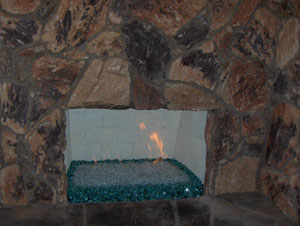
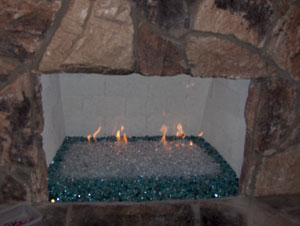
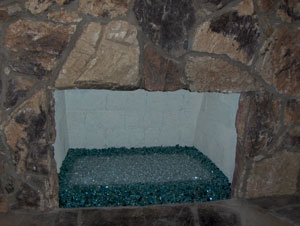
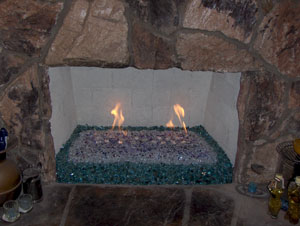
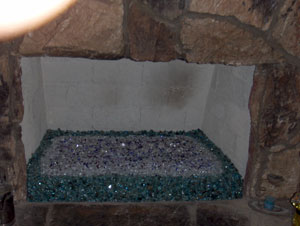
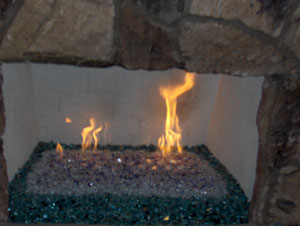
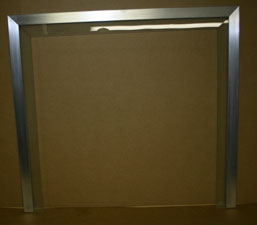
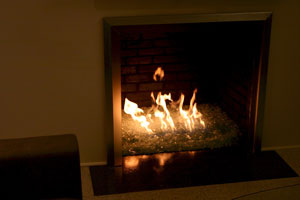
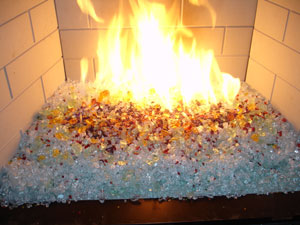
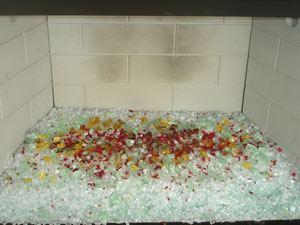
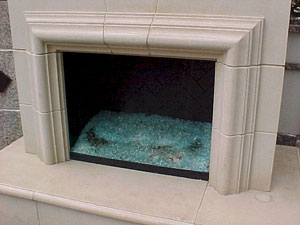
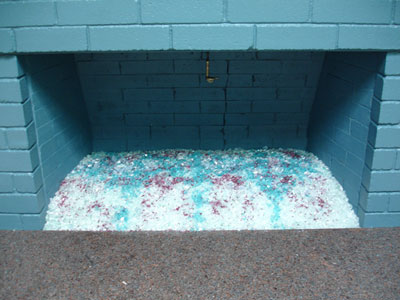
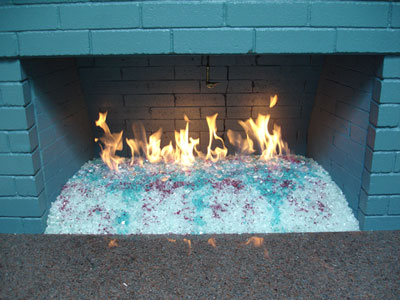
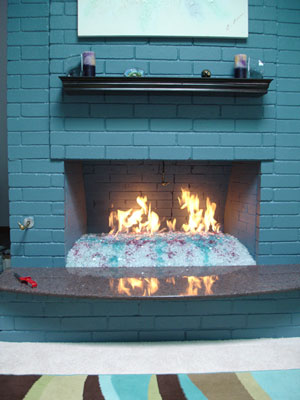
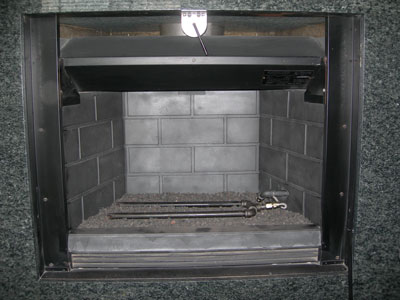
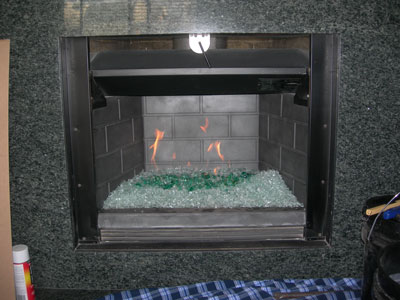
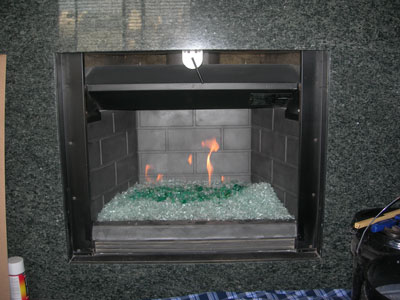
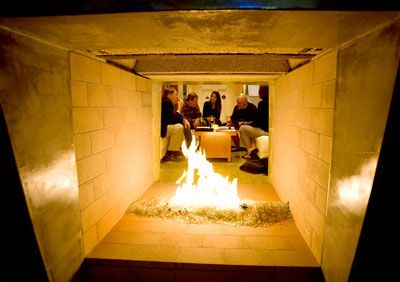
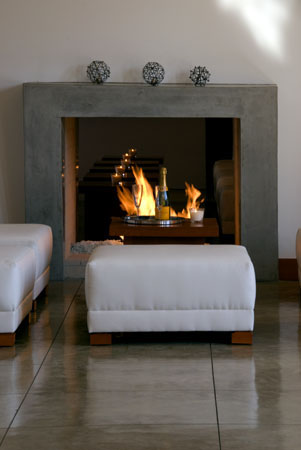
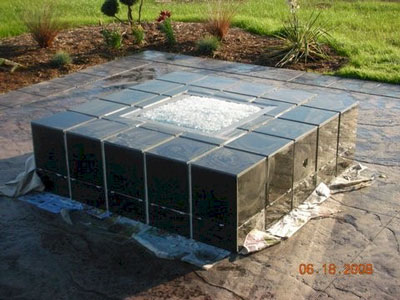
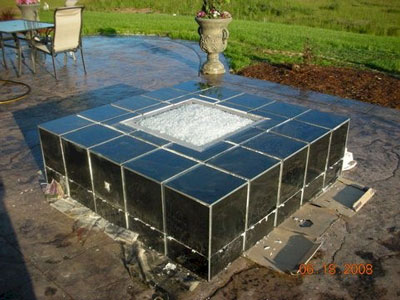
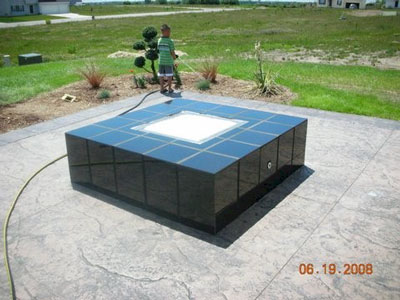
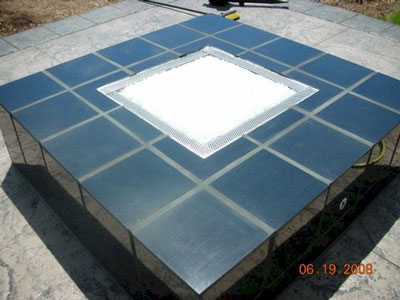
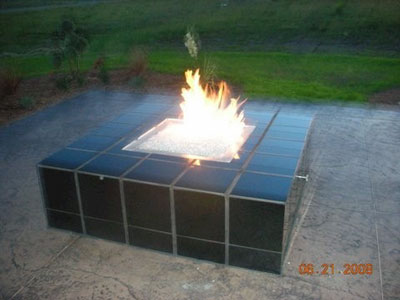
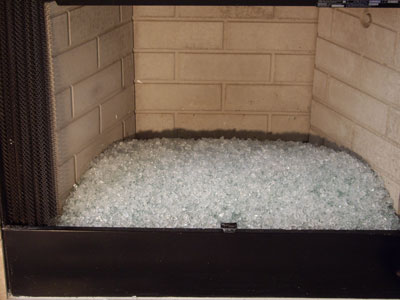
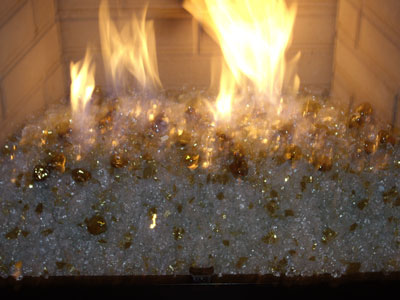
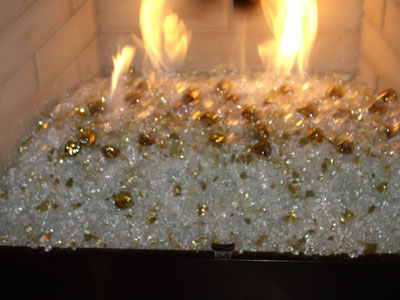
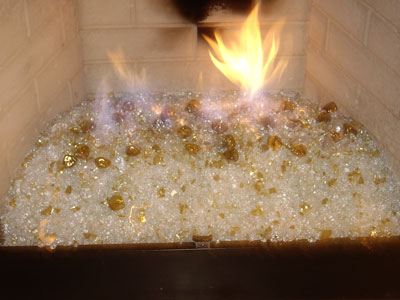
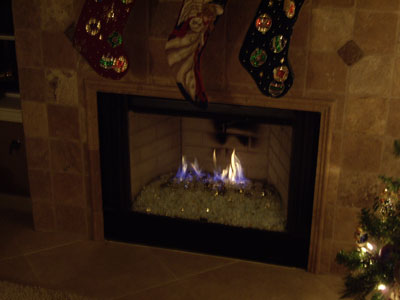
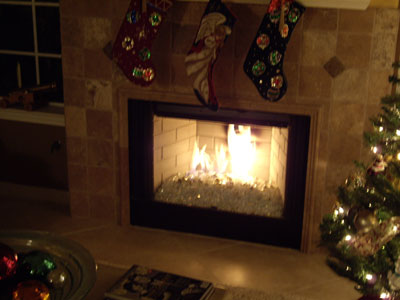
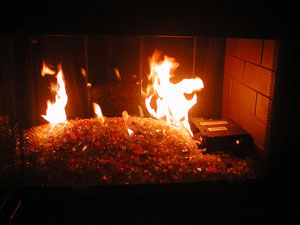
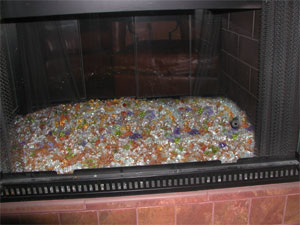
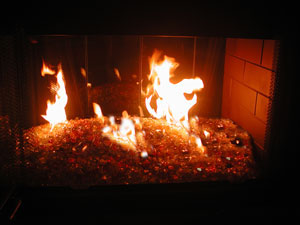
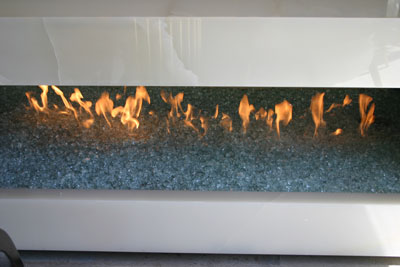
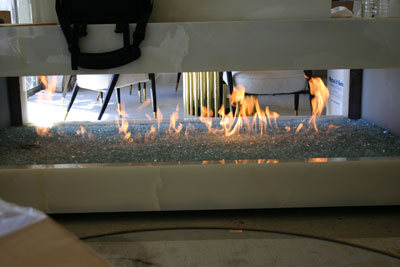
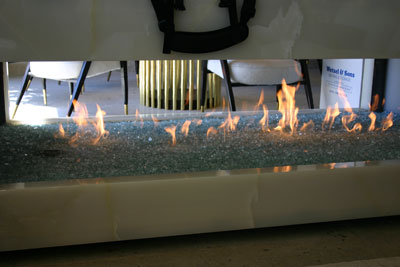
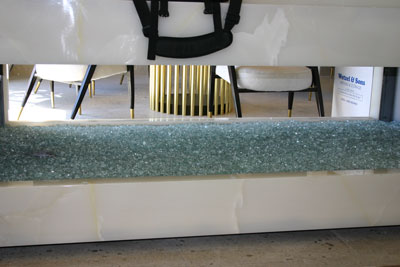
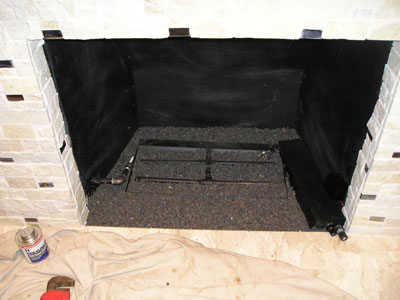
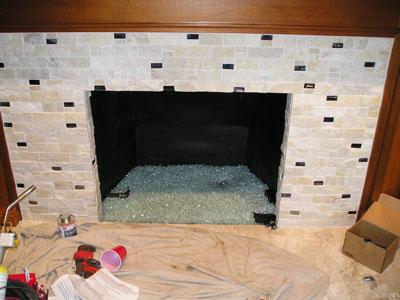
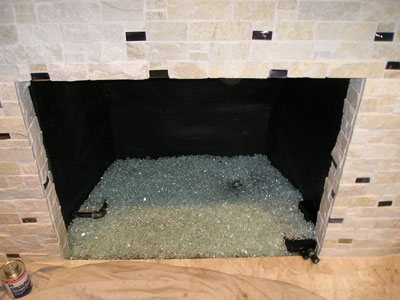
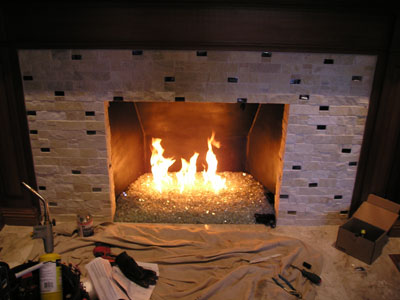
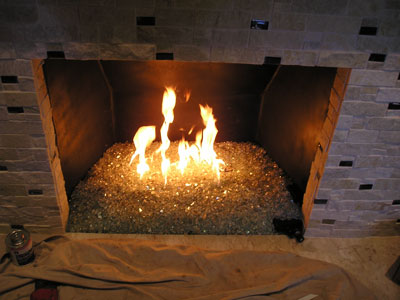
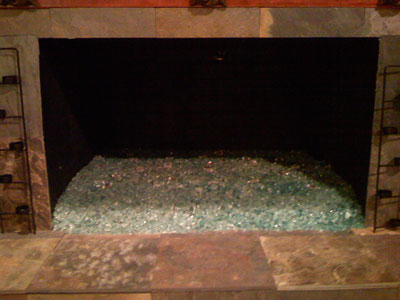
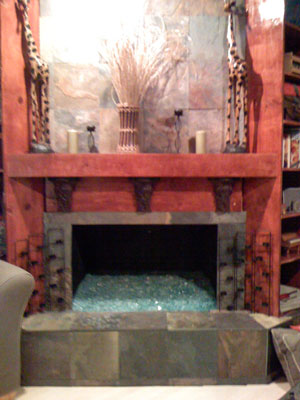
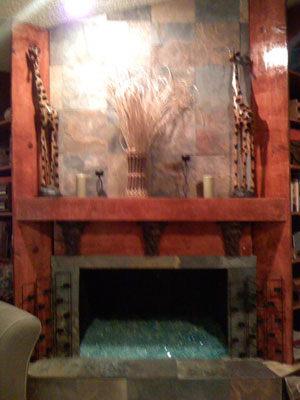
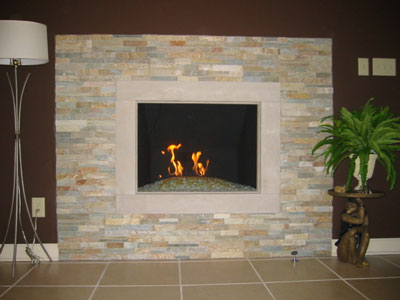
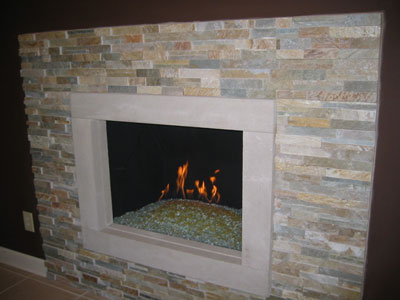
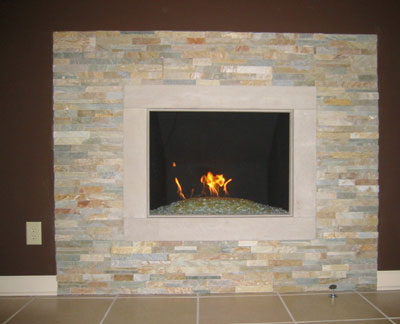
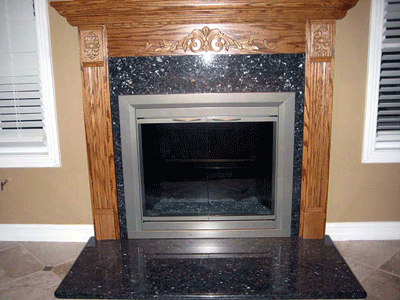
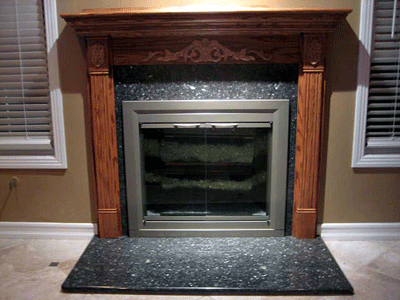
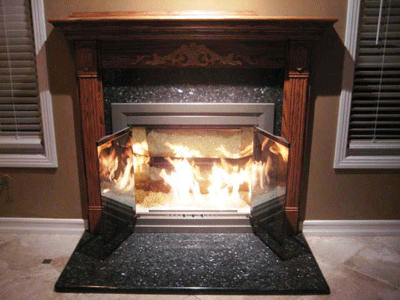
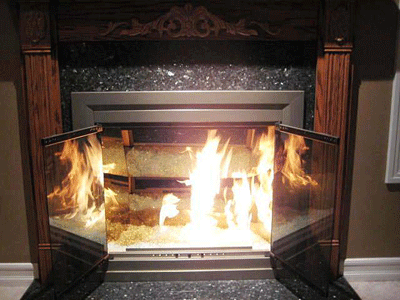
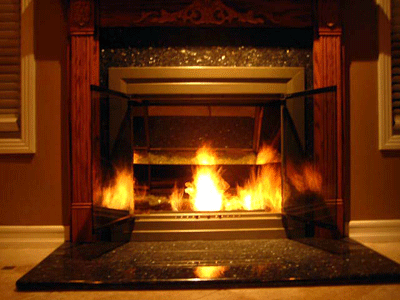
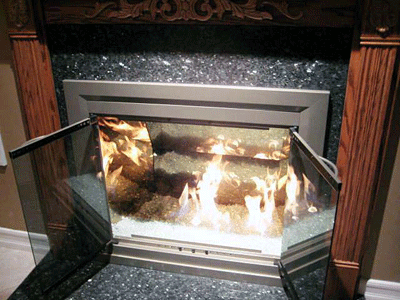
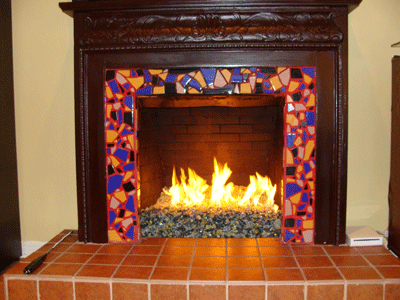
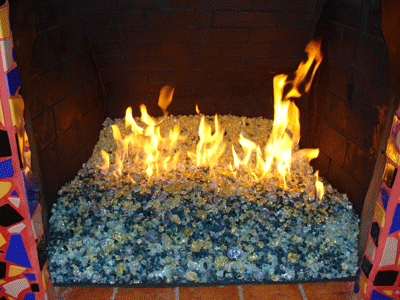
The fireplaces we are about to show you are
Sterling Silver Coated panels we have developed. No they are not just mirrors! (try it and let us know what happened). We are now working on a template procedure to send the customer to help us properly fit each panel. The first set of pictures are from David Barron in Southern California.
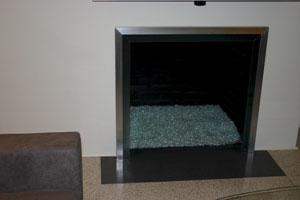
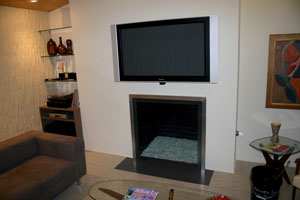
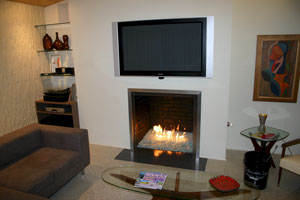
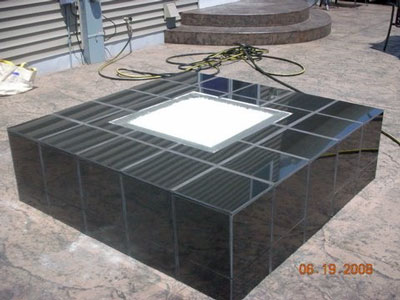
You can see the flames reflect off of the side and back walls from the
Sterling Silver coated panels.
.
Well if you ever thought of doing this, we now can! We pride ourselves in being the first in creativity, design, innovation and customer service. Most of our ideas and creations will be copied, but many months later we are at that time are already on our 2nd or 3rd generation product line anyway. Imitation is the highest form of FLATTERY! Thank you, no really Thank you! Our drive is to satisfy the customer with creativity and ingenuity.
We will be posting more pictures when they are available. Please send your thoughts on our ideas and product developments, we really do appreciate your thoughts.
Ed
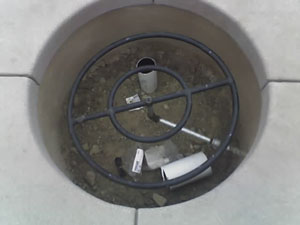
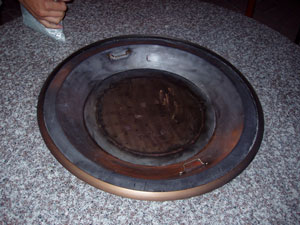
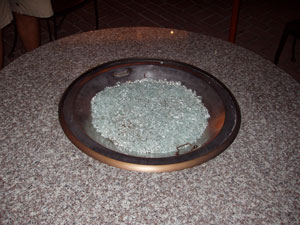
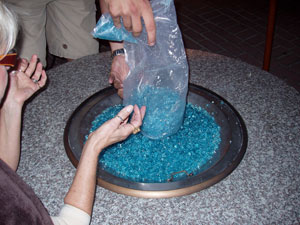
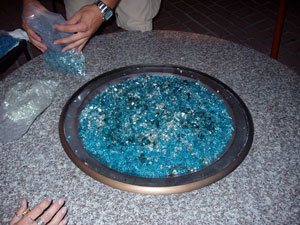
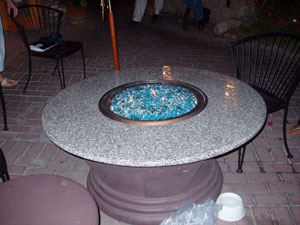
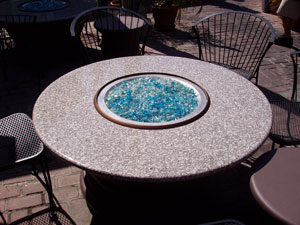
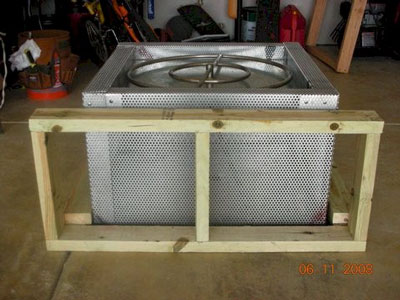
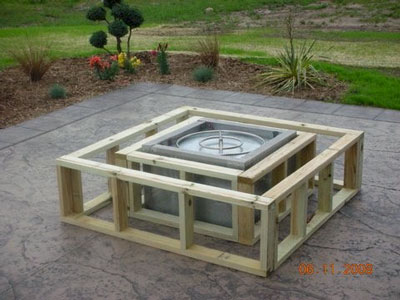
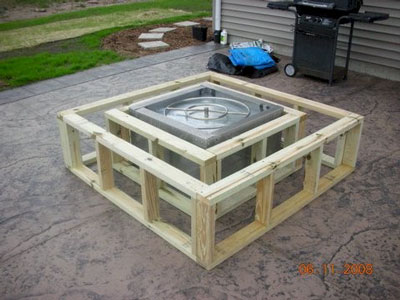
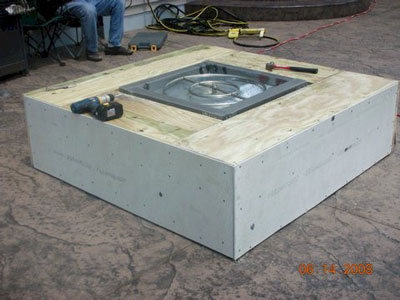
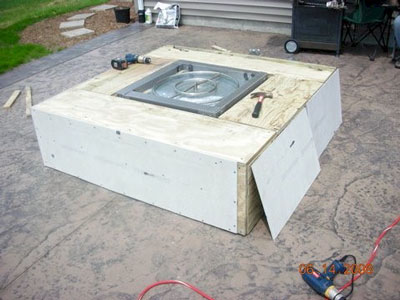
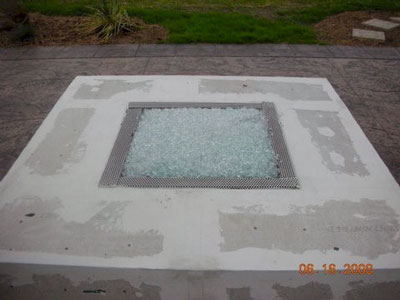
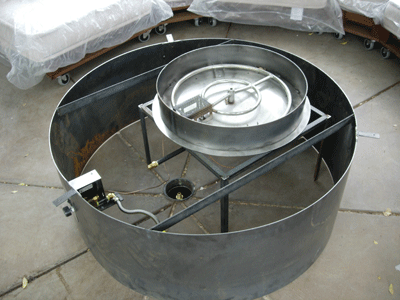
The fire pit below is in San Francisco California. They use one of out
FPPK units.
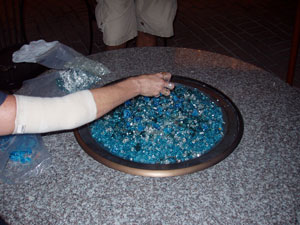
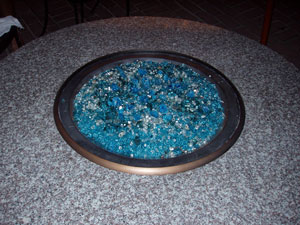
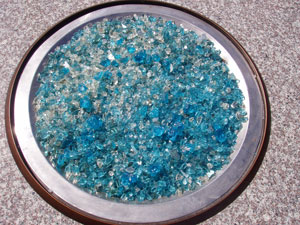
Here you can see the simple construction.
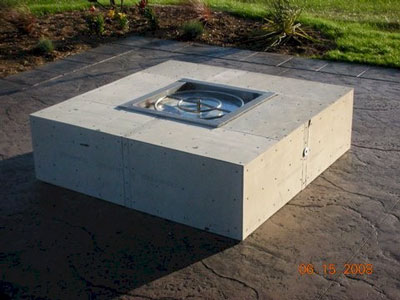
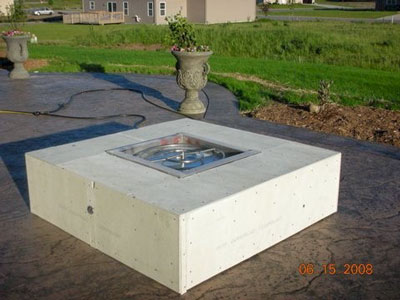
A local artist made the glass inlay top. Very cool!
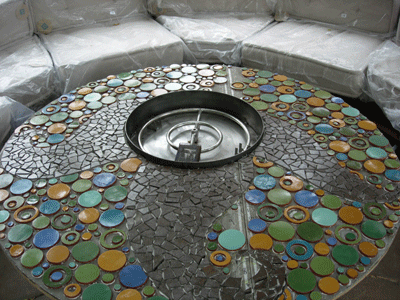
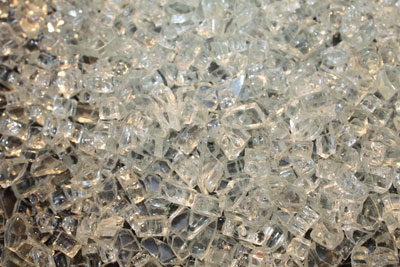
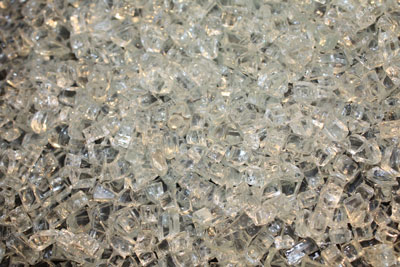
We supplied the
FPPK and the
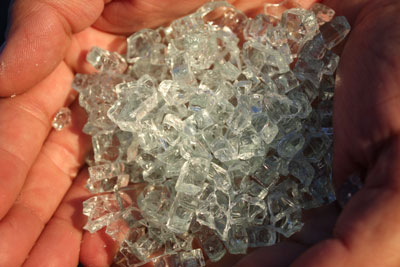
Clear Base Glass 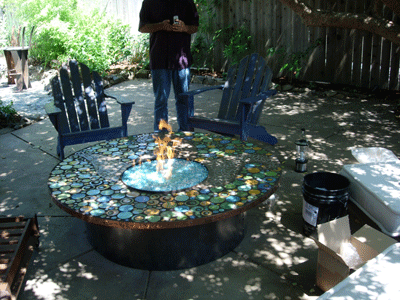
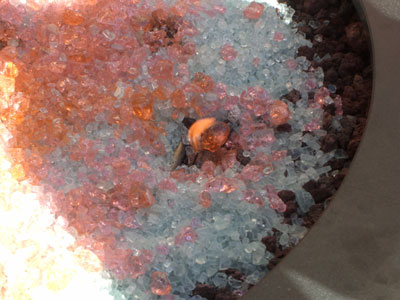
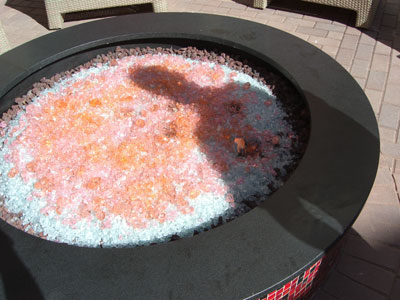
This unique fireplace belongs to Dawn Westlake. She used a Clear Base Glass with 1/2" Chunky Clear Base Glass, New Yellow Base Glass, V Blue Base Glass, V Blue Reflective Base Glass, Pale Steel Blue Topper and Citrine Topper. The fireplace turned out spectacular! Great Job!
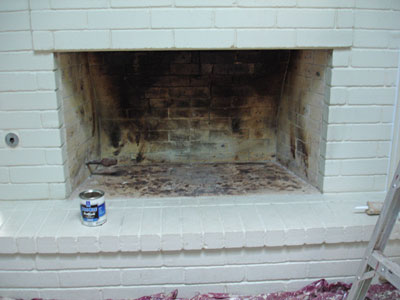
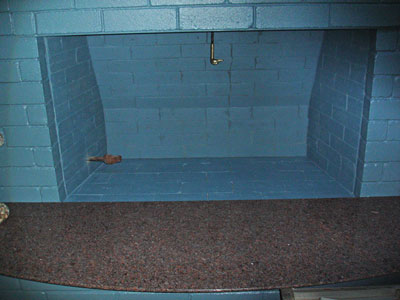
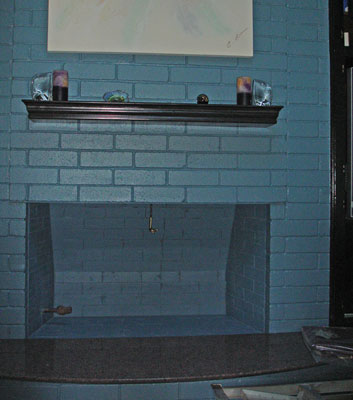
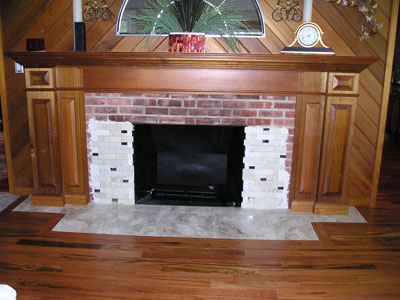
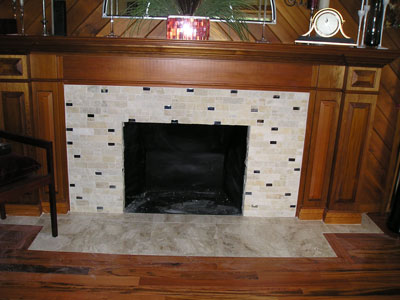
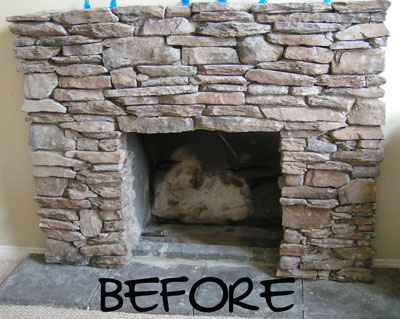
The fireplace below belongs to Todd. As you are going to see one great before and after transformation.
He used an 1/8" Clear Base Glass with Starfire Base Glass
on top. Then he added Red R Topper, Black Luster Topper and a few Clear Diamonds.


Out with the old and in with the new!


CLICK HERE TO PURCHASE IN THE E-STORE
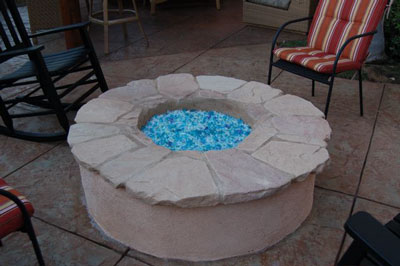
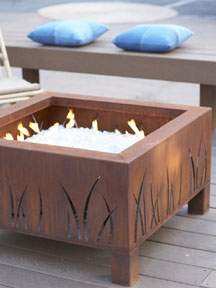
The fire pit below (from Randy Cox) has a Clear Base Glass with Pale Cobalt Blue Topper and Aquamarine Topper for a simple but very nice fire pit.

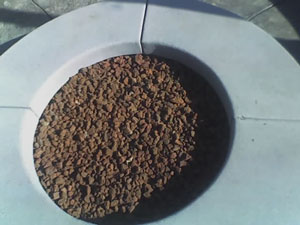
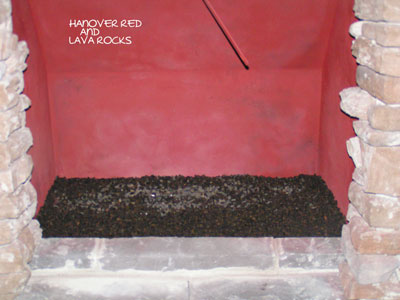
Below you can see the larger 3/4"/ 1" crushed lava rock as a base filler.


Below you can now see our 1/4" crushed lava to finish off the larger lava.


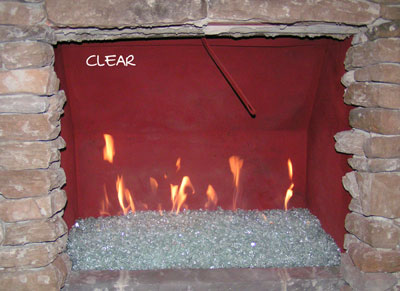
The glass goes in and you are finished!.

Randy installed a 22" stainless ring and when he took the picture he had the flame on low.


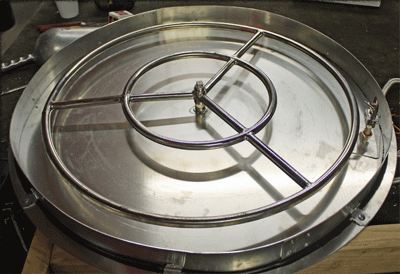
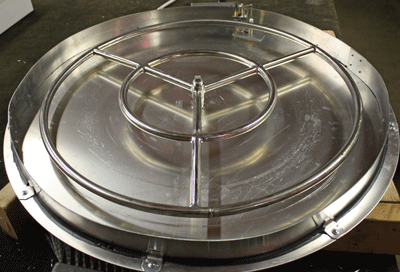
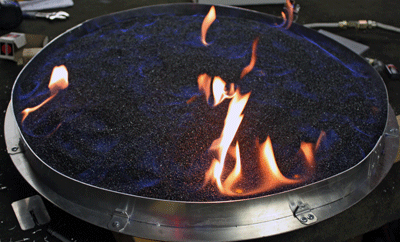
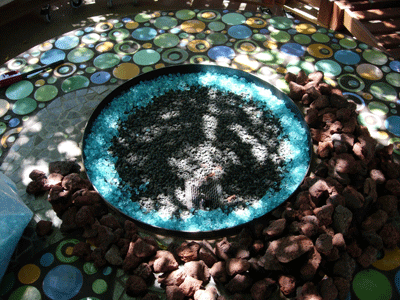
The burner below is one of our
FPPK's (fire pit propane kit). With this FPPK we set it up for
Black Magic! This was table tested for the pictures. Hopefully the customer will send us pictures after and during installation. We first sent these pictures for the customers approval. Here you go! The pan below belongs to Scott Spector and he finally installed the fire pit in his back yard, WOW, one really nice backyard!
As you can see around the lower edges it was leaking and yes we did fix this.
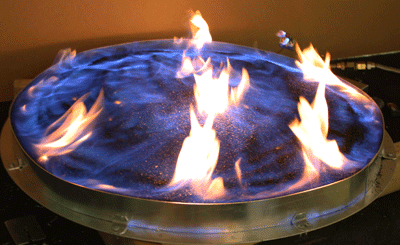
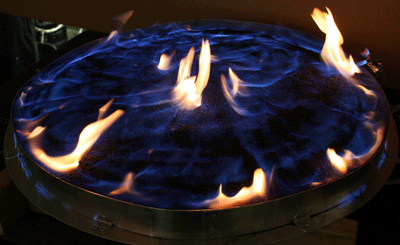
The fire pit below was built by Scott Spector in Florida. He started with an FPPK 30 which includes a 30" base plate and a double 24" stainless steel ring. Here we go from the beginning:

The propane line was run/ installed under the pavers.


The colors that were used are
1/2" Clear Base Glass,
Black Magic in the center,
Clear Diamonds,
Cobalt Blue Topper,
Clear Topper,
Cobalt Blue Light Topper
and our FPPK 30". That is our 30" propane burner. You can see the actual burner above burning before shipment and installation.

We don't have any pictures of the fire pit burning at Scott's but he did tel us that when he fired it up again he would try to send us a few pictures. Thanks Scott.

CLICK HERE TO PURCHASE IN THE E-STORE
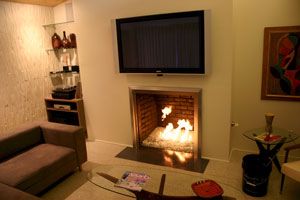
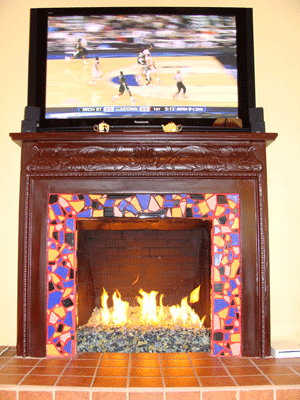
The fireplace below has a steel pan underneath to conceal the 12 volt remote control. We used a Clear Base Glass and topped it with a Starfire Base Glass and then added Amber Diamonds on the surface.


You can see the front plate that was painted to match which is removable if and when necessary to change the batteries. The legs were 4 1/2" and the pan was 2" tall. The removable front metal curtain was 6 1/2" tall.


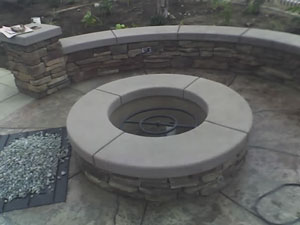
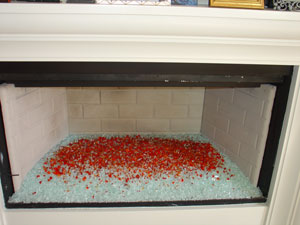
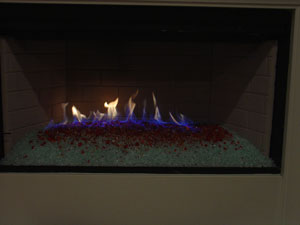
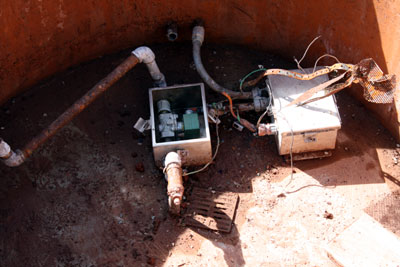
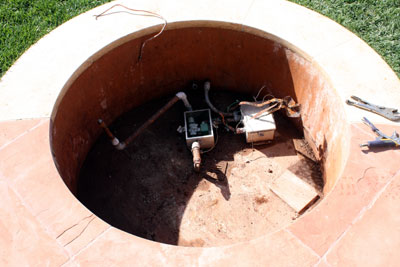
The fire pit below is located in San Diego, Gable Point Loma. There were 2 electronic ignitions installed and a false bottom was installed. We filled the base with Clear Base Glass and 1/2" Clear Base Glass.The lines were installed from the back.

Below are the electronic ignitions.


Framing/ metal studs were installed and two layers of durock was then installed to support the glass.


Finished!

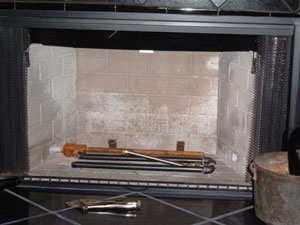
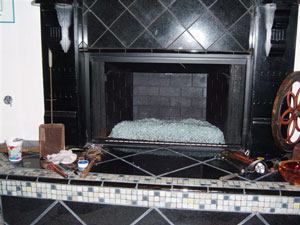
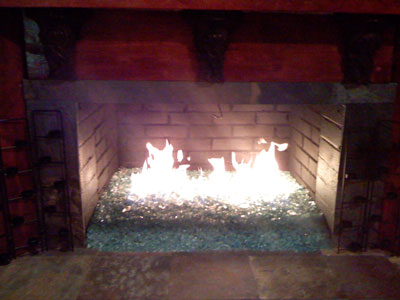
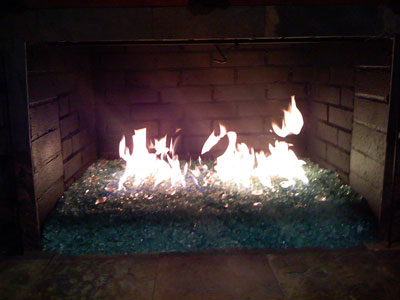
The stove below had a set of logs installed, yuk! We used the original burner and just raised the thermocouple to the surface of the glass. The glass will get to about 700 to 750 degrees in about an hour burning at 80,000 btu's. We used a Clear Base Glass, Lagoon Topper and a few Clear Diamonds and Pink Diamonds.


Much nicer than LOGS! No Really!

The fireplace below is a self installation by Thom Toben of Studio T2 Designs in Kansas. & colors were installed and they are;
Clear Base Glass with Starfire Base Glass mixed together over
Medium Amber Topping
Bronze Rust Copper Base Glass
Black Luster Topper
Yellow Amber Topper and
Turquoise Blue Topper
You be the judge, we think it looks great!

Below the burner is installed with the flex line under the burner

Now the lava goes in and the burner is brought up to the surface

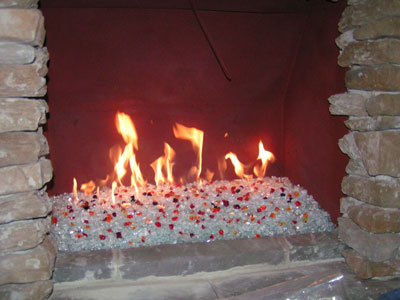
Test the burner to insure the flame don't hit the back wall.

The Clear Base Glass and Starfire Base Glass was poured on top of the lava.

Then Thom placed all of the other selected to match the room.


CLICK HERE TO PURCHASE IN THE E-STORE
The next fireplace below was designed and installed by Nadine in Texas. The colors that were installed were:
Clear Base Glass, 45 lbs
Starfire Base Glass on top, 40 lbs
3/8" Sky Blue Base Glass, 1 lb
New Yellow Base Glass, 1 lb
Blue 2000 Base Glass, 1 lb
Red Orange 1122 Topping, 1/4 lb
Emerald green Topping 1417, 1/2 lb
Neo Lavender Topping 1842, 1/4 lb
Aqua Blue Topping 1808, 1 lb
Deep Royal Topping 1114, 1 lb
Salmon Pink Topping 0305, 1 lb
Erbium Pink Topping 1821, 1/4 lb
Pink Topping 1215, 1/2 lb
Pumpkin Orange Topping 3 lbs
Lipstick Topping, 1 1/2 lb
and Gold Base Glass around the outer edge, 23 lbs.


The next fire pit was build/ constructed by Rose Harms in Wyoming. Long story behind this one with what the plumbers were telling her and what actually happened. We will explain as we go.
Above and below you can see we had her install a gas line with a quick disconnect hose.
Here is what Rose had to say:
Hi Ed and Claudia,
Wanted to be sure I got the photos to you of our completed fire pit.
Here are the steps we went through:
Bought the brick/blocks (no lip on the stones) from Lowe's, put in circle, 3 rows high.
Bought the iron fire pit at Lowe's and placed on and inside fire pit. -note -it is iron, so I sprayed it with HIGH HEAT paint, in Copper. Wow!
got plumber to run natural gas from deck above (outlet for BBQ) and under the deck, ran down the deck post and he put in a Shut Off valve there.
It turns.
He ran a precise hole through the bottom off the fire pit to hold pipe for gas to the double ring burner (from Moderustic of course) and it is stainless
steel (no rust). At the bottom of the deck post is a flexible hose which goes over to the fire pit. It CAN be disconnected or even roll up and
shove inside fire pit (after it is cooled).
Note: you do need to chop off a piece of the block, or else just pull one out when you are using the
fire pit. (Kind of like Jenga -just pull out the stone, the others support the fire pit) Unless you can successfully saw off a piece of the stone.
Lit the burner to be sure it works well. It did.
We put in the 1" lava rock in the bottom of copper fire pit and then filled in the spaces with 1/4" lava rock. Should have used More! When we went to
cover the burner we were short on the FireGlass. So we ordered more. Still looks beautiful.
Got rest of glass and made circles with the glass and it is beautiful. There are photos of it burning last night!! Lots of warmth on a typical
cool Wyoming evening.
Brick: $200, Fire Pit $79 on sale, double ring SS burner $126, glass -about $250, gas line -don't know yet but guessing $200. Maybe $750-800 total.
And -the way it is made, we could actually dismantle and move it. No mortar in stones. We are very happy with our fire pit and thanks to Ed and the gals
at Moderustic, we were able to make the right choice for glass and burner. Thanks Ed, Rebecca and Claudia. Very knowledgeable and helpful. Could not have managed
this without your guidance. We love being DYI-ers but directions are needed!! We appreciate all your help.
Rose and Doug Harms, Cheyenne Wyoming
Mind that the customers stacked their own bricks!
The glass that was used:
and the rest is history!
This was originally going to be propane but if you have natural gas, then use it if you can. It will cost less in the long run.

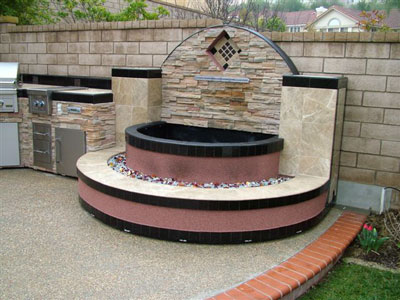
The fire pit below was built and designed by Brett Parks in Indiana. Brett came to us to help hm create his water fire feature for his back yard and be able to winterize it during their frigid winters. The glass he used was a:
We then built a custom shape stainless steel burner to fit his idea. We will explain as we go.
Here is his original concept drawing:
Below is his layout with pavers, electrical and gas line coming up.
6" deep water tank.
Stack a few more pavers.
Let's test it!
A custom size and configuration ring was fabricated.
Now you're done!
Below:
all with Copper blue on top. Each looks very different. We can and will do the same for you, send you pictures of your combinations if you like.

The next fire pit was created by Mike. He used a metal flower pot/ planting tub and just connected it to his gas line. He installed
Clear Base Glass and
Gold Base Glass on top.
You can see the logs just outside of the pan on the left, yuk! I personally would of installed a ring burner, but that is just me!
But you have to admit, it is a good idea!
 CLICK HERE TO PURCHASE IN THE E-STORE