The pictures below are of Dr Micheal Marshall Fireplace Surrounds
CLICK on the link or the picture below to see the surrounds with the Star-Burst Pattern!
 ______________________________________________________________________________________________
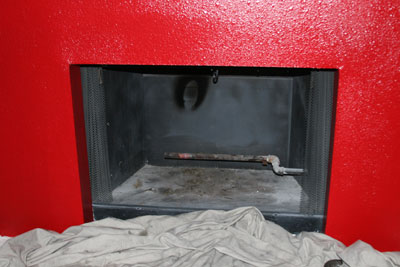
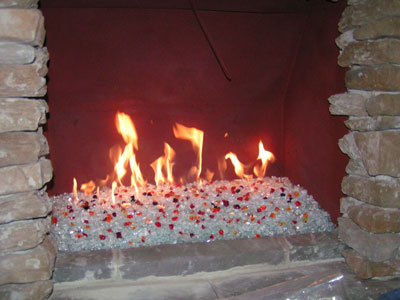
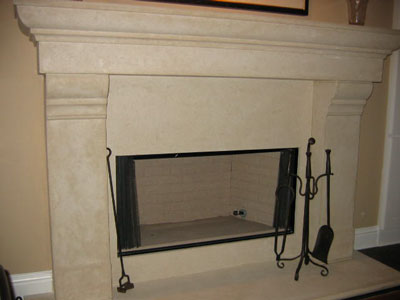
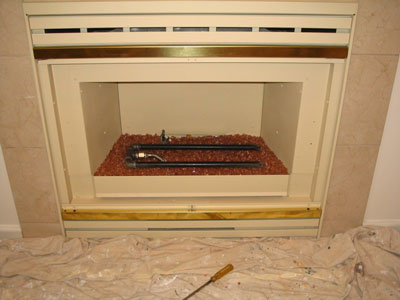
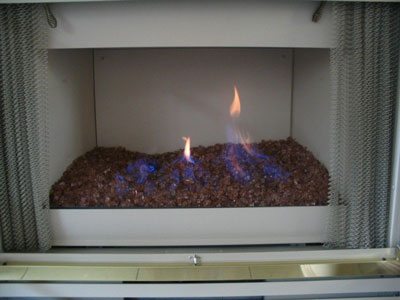
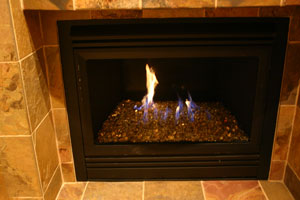
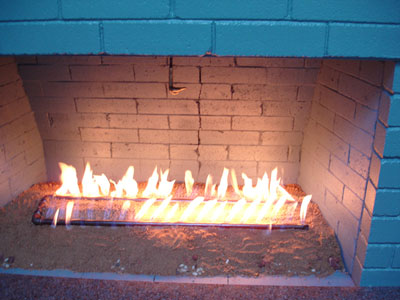
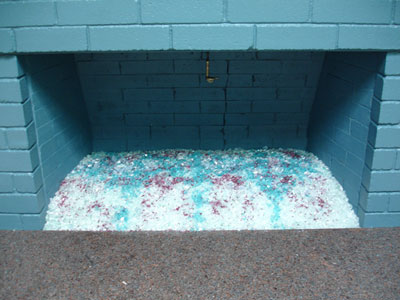
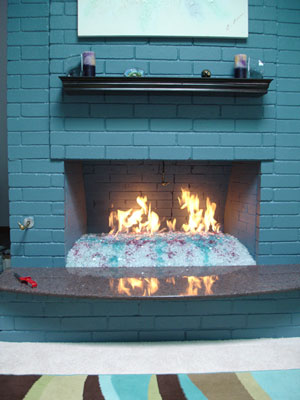
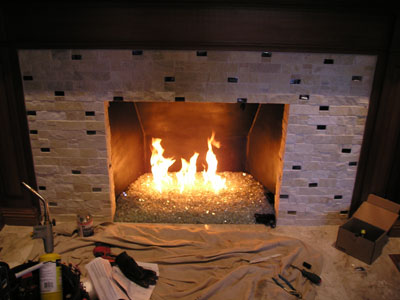
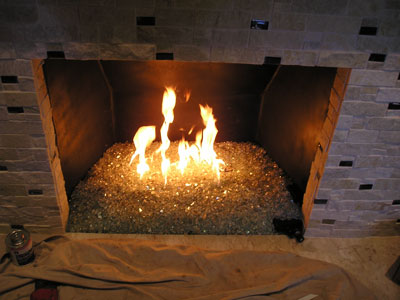
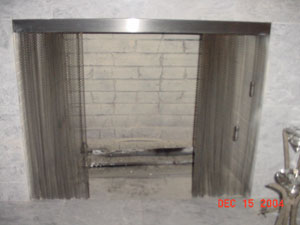
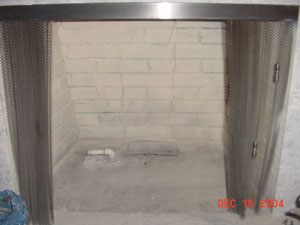
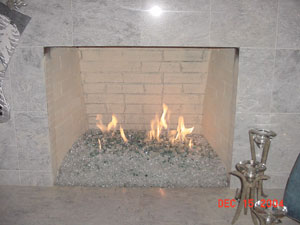
The fireplace below is a self install by Joyce and Tom Dane from beginning to end. The fireplace was painted, converted and finished with Pink Rosa Base Glass. This is a direct vent fireplace and for those of you who say it can't be done, well you just don't know how! We do and thousands of of customers do as well.
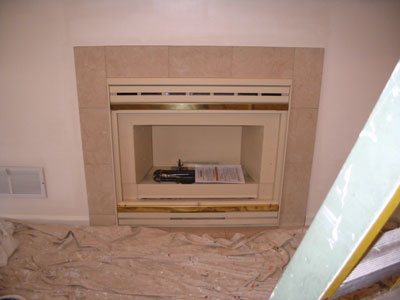
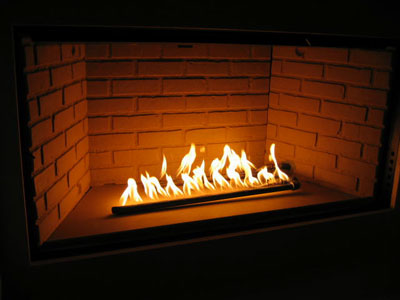
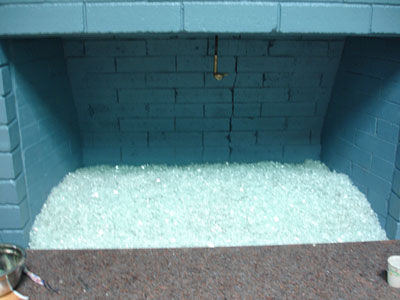
Above you can see they painted the interior and it now looks much better.
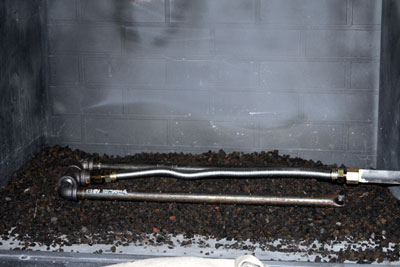
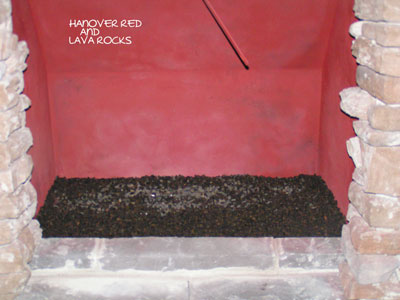
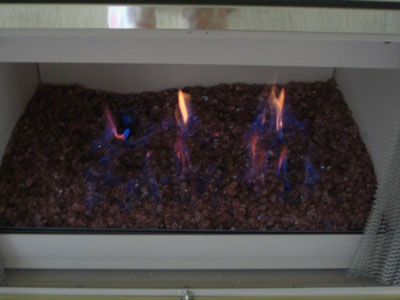
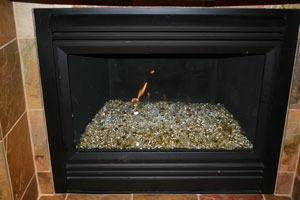
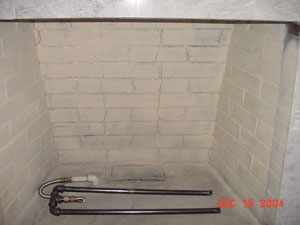
The lava filler underneath the burner.
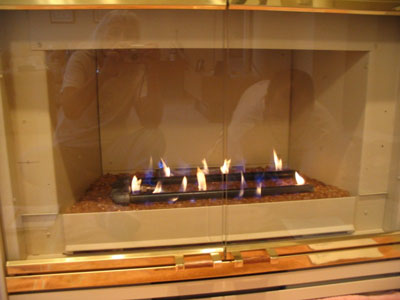
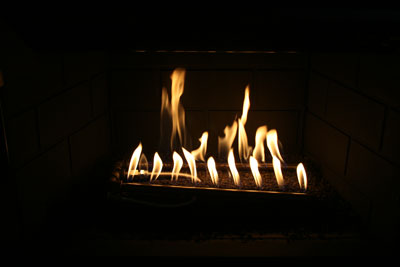
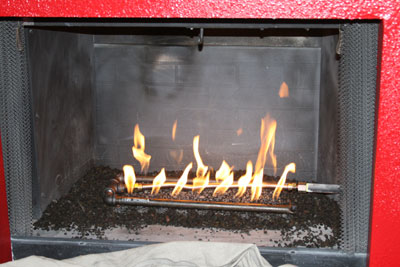
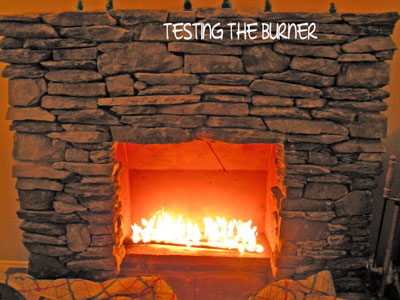
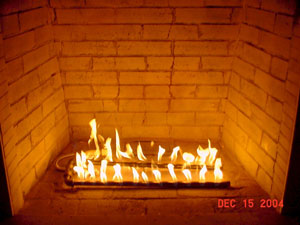
Test the burner and pour the glass. There are so many who tell us this can't be done.
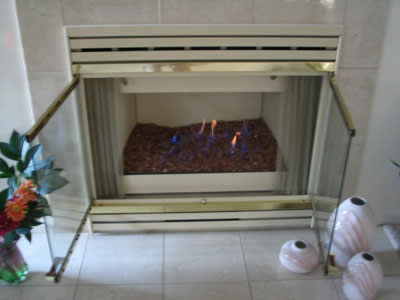
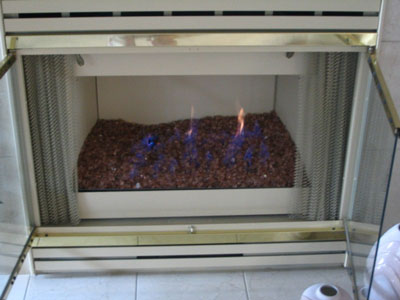
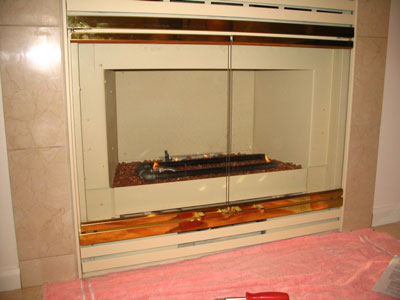
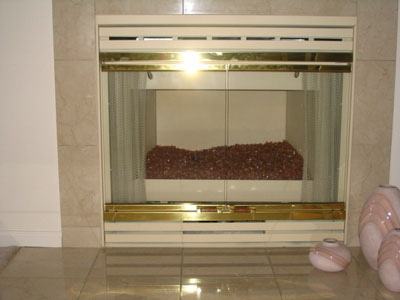
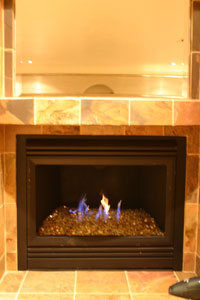
You can leave the doors on or take the doors off, which ever you prefer.

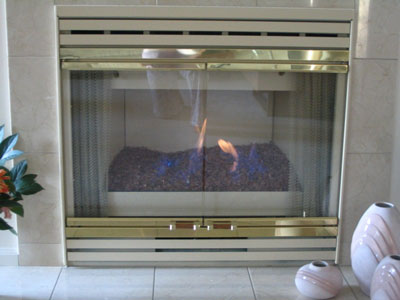
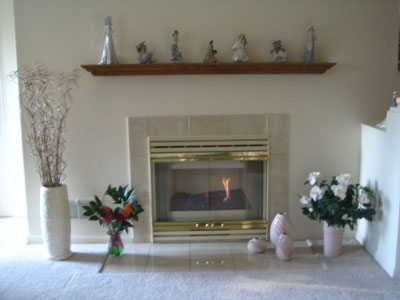

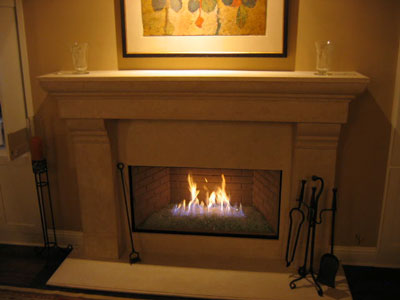
We actually prefer the doors and screens removed and finish with some sort of surround.
Here is another tip on How to correctly install a natural gas burner.
A picture is worth a thousand words, here are three thousand words!
The fireplace below is in Beverly Hills and is also a self install direct vent fireplace. This fireplace was filled with Gold Base Glass and topped with a few pounds of Platinum Base Glass.
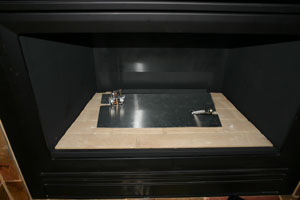

The old burner was removed and a new bottom plate was installed

Test the burner and thermocouple
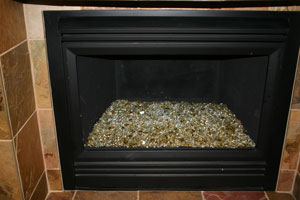
The Gold Base Glass was added over the lava rock
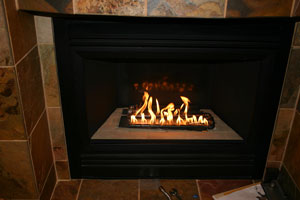
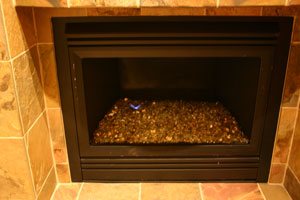
and there you have it, fire! If your installer does not understand this then have then call us so we can guide them through the process.
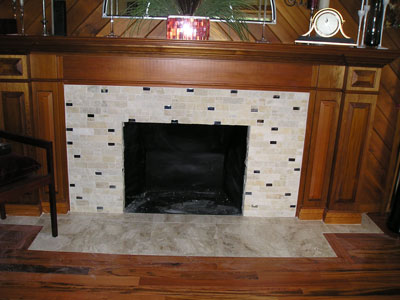
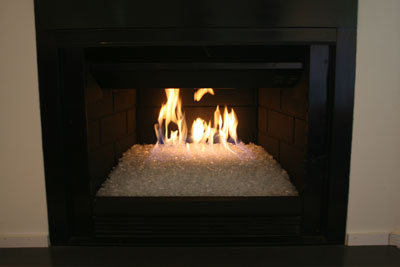
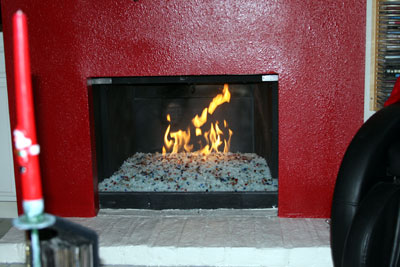
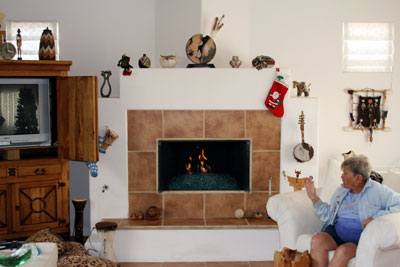
I finally managed to finish the fireplace. We have decided to place a 2" piece of metal in front (which hasn't been done yet), though, to keep the glass off the ledge. We thought it would be deep enough, but that didn't quite work.
To enable me to keep the center area smooth, we had to place the burner on top of the wall pipe, which created a rather high burner placement. This ended up creating a bit of a problem because I had a steep slope to the hearth. This is why I need to add the metal strip in front--so the glass doesn't roll down and come out of the fireplace. We had decided to not have a glass door on it, although if we find something we really like, that could change.
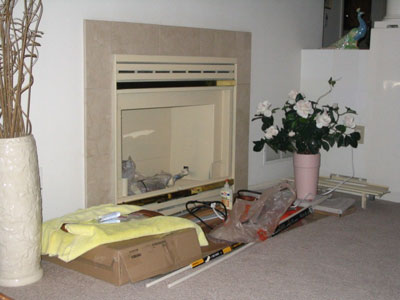
The pics might come in 2-3 e-mails, but I'll describe them here. The first few pics are duplicates of ones I already sent you.
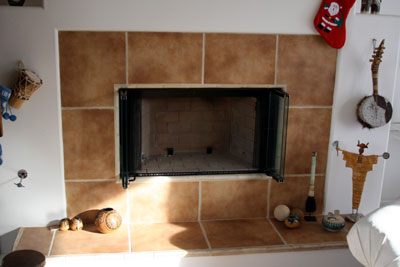
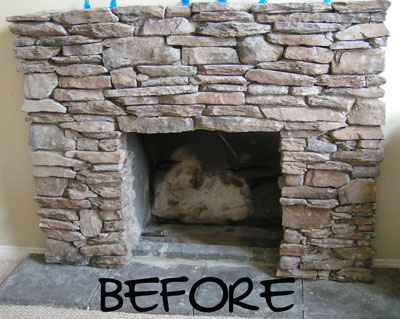
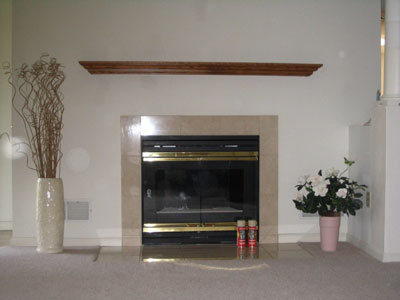
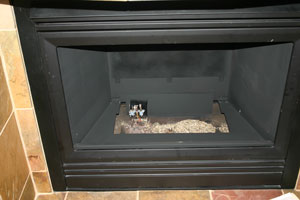
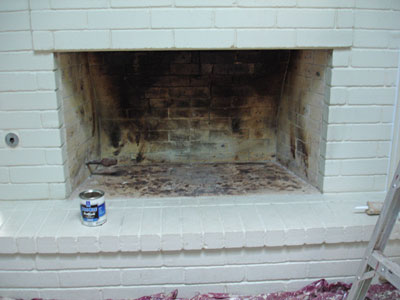
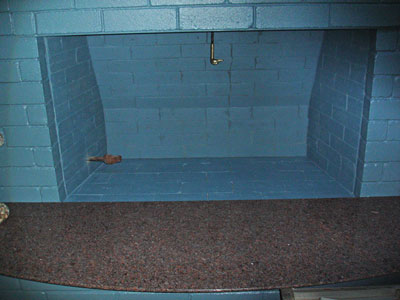
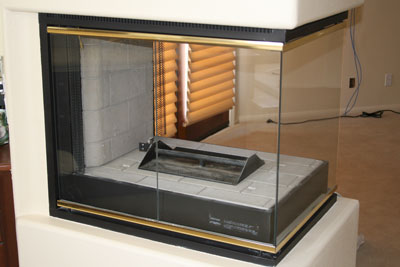
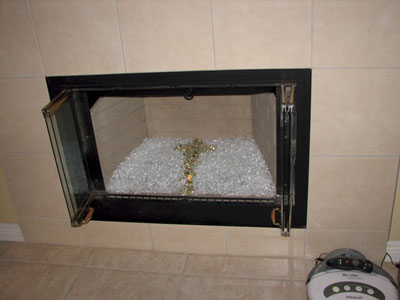
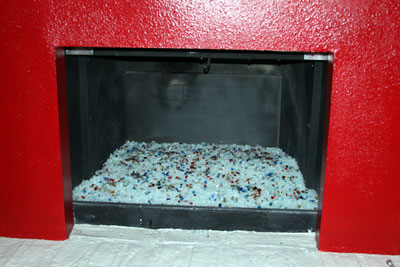
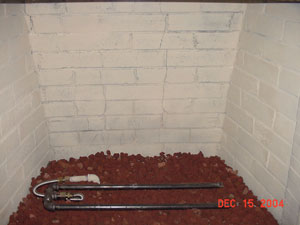
1. Original fireplace, emptied out.
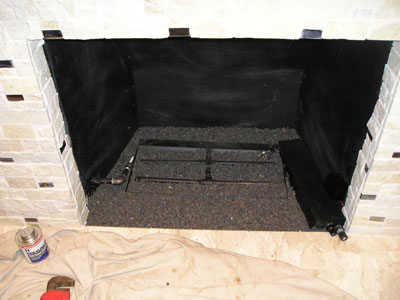
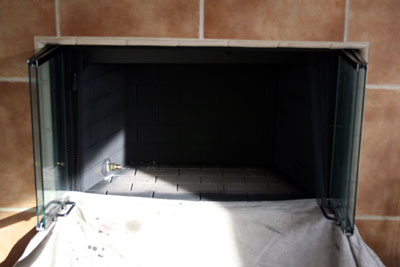
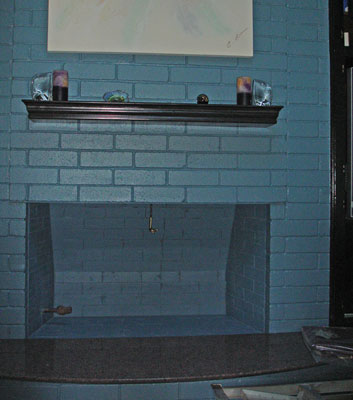
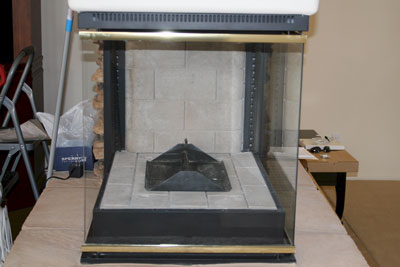
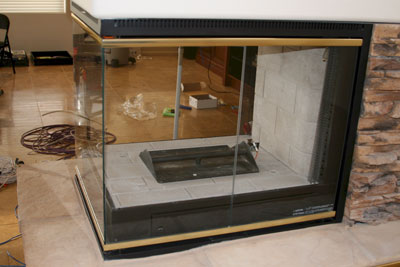
2-3. After painting with the dark blue from the chart you guys gave us. The wall was painted to match, although, I'm not sure I really like it. I'm trying to reserve judgement until I see it for awhile.
The damper handle is a brass duck head which wasn't even noticeable when it was all black.
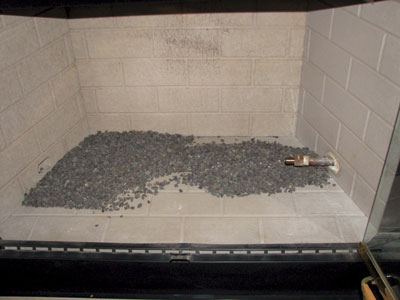
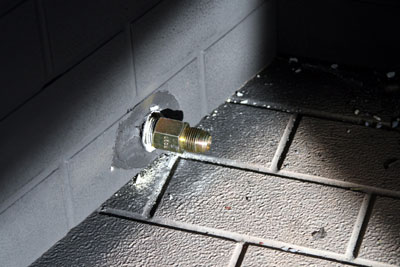
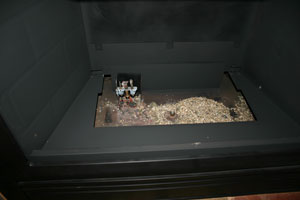
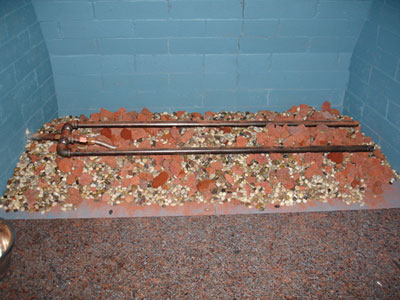
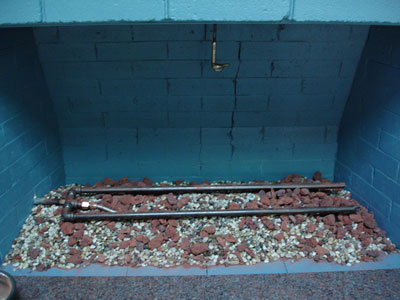
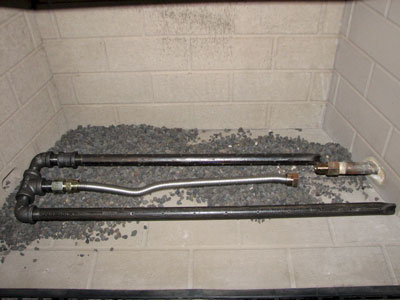
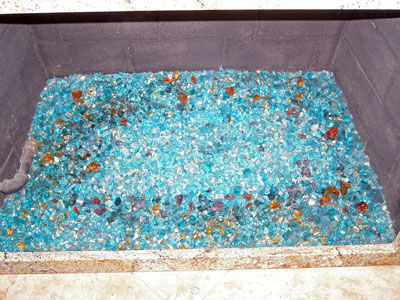
4-5.New burner in place. This created more problems than expected due to the wall pipe being higher than most. We ended up using regular lava rock, since we couldn't find the smaller rocks. Then we added small pea gravel to fill in gaps around the lava rock. After the burner was finally level, we added the sand.
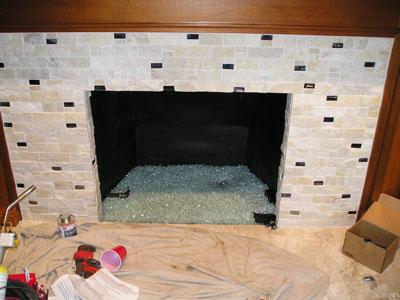
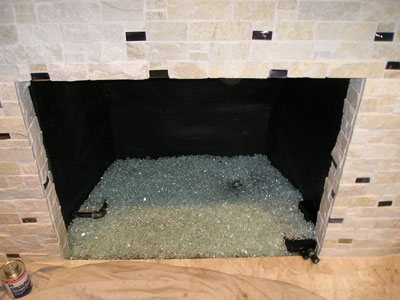
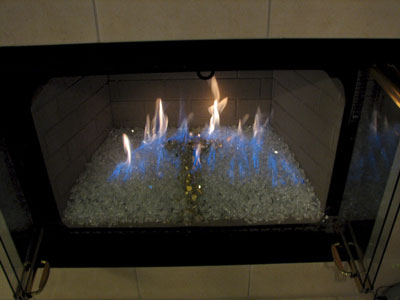
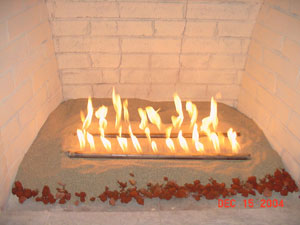
6. Testing the burner with sand added.
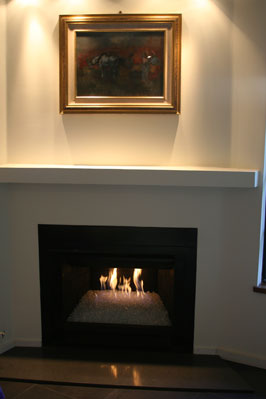
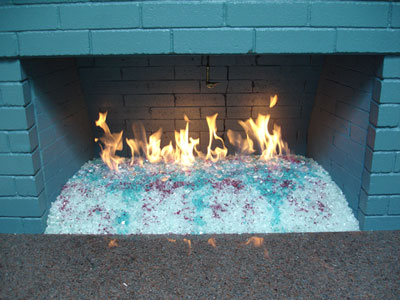
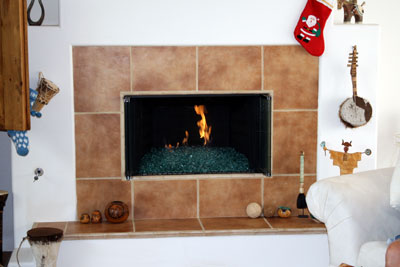
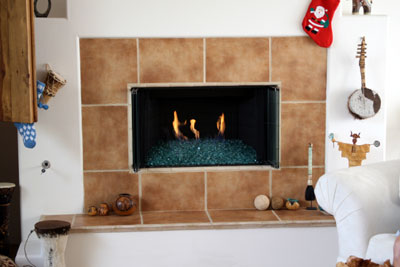
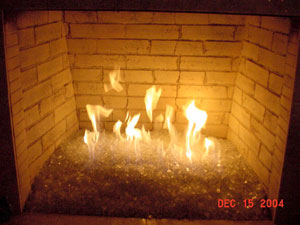
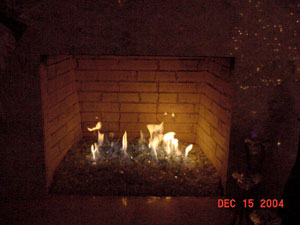
9-10. All finished and burning.
We're still working on the right side of this wall which has cabinets holding the TV and storage. Once the entire wall is finished, I'll send you one final pic of the entire wall. Not sure how soon that will happen, so don't wait for it, if you want to post these pics on your website.
I want to thank you for all your help. Your store was great to visit, so we could pick our glass out in person. Your staff was very helpful and we had a great time making our final color choices. I'll will definitely recommend you to others.
Senior Instructor for Art Clay
PMC Certified
crafterjudi@yahoo.com e mail any comments or questions to Judi
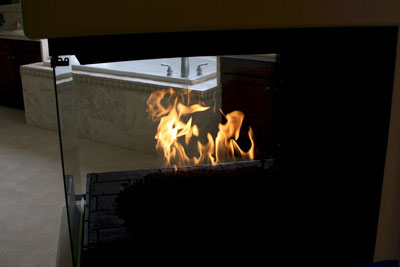
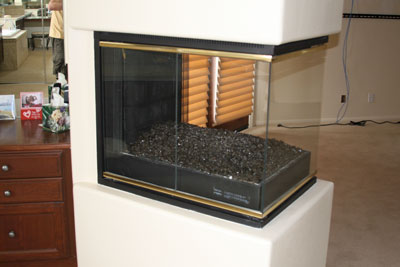
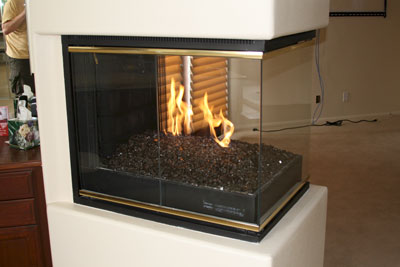
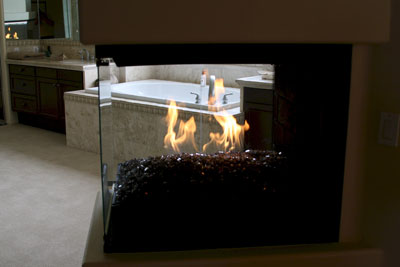
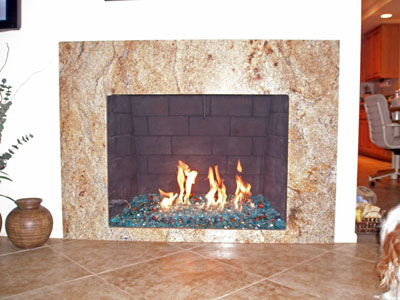
The fireplace below is in Rancho Mirage just east of Palm Springs California. This is a direct vent fireplace and we used a Bronze Base Glass with Bronze Reflective Base Glass on top. We use the original burner as it would do just fine. We are also cladding the bras with brushed stainless steel and we will post the pictures as soon as we get them. We did two identical fireplaces in this home. One in the master and the other in the family room. You can tell by the back ground.

The fireplace below is in Pasadena California. this is a before and after with a 2" base of
crushed lava as a filler with
Starfire Base Glass on top with a double 24" burner installed. We are next installing one of our
surrounds.
Looks nice? Huh? NOT! Again, has anyone ever told you nice logs? I don't think so.
I would really not like being a log manufacture as they really produce some ugly products, in my opinion. But you decide for yourself.
Below we have installed the burner on top of the lava rock filler.
Now test the burner to insure the flames don't hit the back wall as this will scorch the walls.
Now this is nice! Now we will install a surround. Most everyone tells us "Nice Glass"!
Above you can install the burner with the flex line curling back under the burner or below
you can use a longer flex line or add a nipple. Which ever you prefer.
Step 2, cover the old brick!
Finish the face and floor, very nice!
Install the propane pan burner
On the left side you can see the gas connection which will soon be covered as well. On the right side the control cover will be covered as well. This
propane pan burner was fitted with a remote control, radio frequency.
Now that you're finished you're ready for FIRE! Have your spouse lite it in the event they didn't follow the instructions! (just kidding again)!
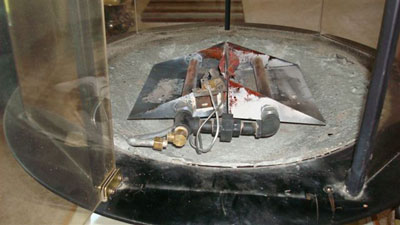
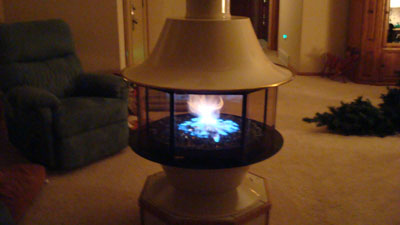
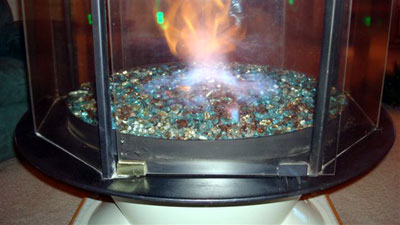
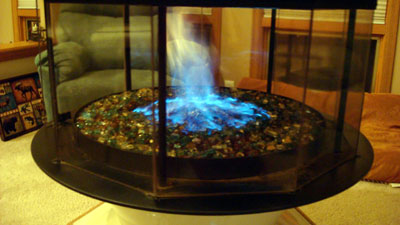
The fireplace below is a Malm Carousel Fireplace (
www.MalmFireplaces.com ). We replaced the attempted dual burner which it was originally installed with with a simple 12" steel ring.
This fireplace has a safety pilot light kit which was still left intact for local code reasons but we did get rid of the non functioning pan burners.
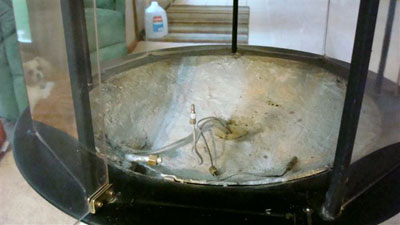
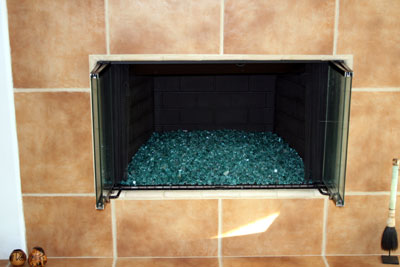
Below we poured the
crushed lava base up to and just covering the ring burner.
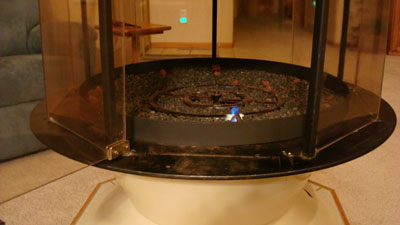
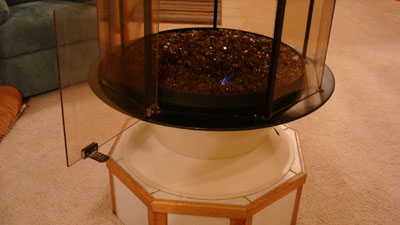
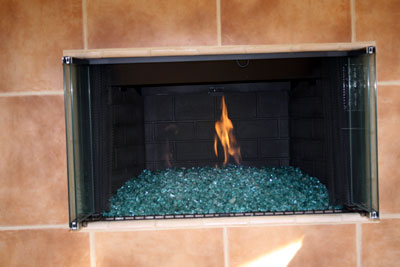
With the doors closed just enough as you can see now they can control the hurricane/ tornado effect!
This is a typical fireplace but this one has lava rock stacked up inside, yuck!
Below you can see the flame hitting the back wall creating a soot mark, not very nice looking. The customer didn't want the fireplace painted, why?
There's that soot mark! If you do paint make sure the work is not spotty! That looks nasty as well.
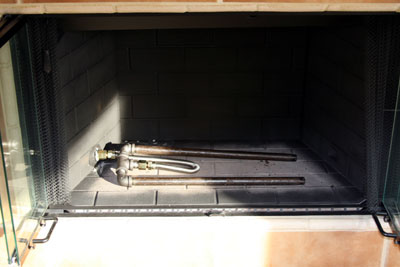
Above you see the typical hard piped burner installed which is fine for logs or lava. But this does not really work well for glass. Below you see the double burner installed with an 18" flex line.
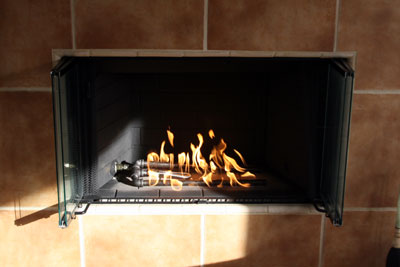
Test the burner and pour the glass, now it looks nice except for the soot mark!

The fireplace below is in Palm Springs, California and is a self install
Clean and
paint the walls in the color of your choice, we offer 25 colors!
Screw on the flex line adapter
Attach the flex line and burner with the flex line under the burner.
Test the burner to insure the flames are not hitting the back wall.
and you're done!
The fireplace below is a self install with a
Hanover Red back ground, The glass that was used is a
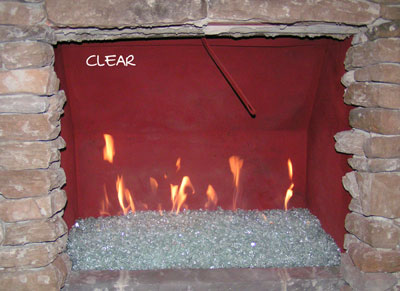
Clear Base Glass with
Starfire Base Glass on top. The Red and Orange Toppers were applied. Jon and Liz Kleinman even labeled their pictures for us.
The fireplace below is in Santa Monica California. The fireplace is a
Malm Fireplaces
This is a very simple self installation as you will see.
The fireplace below is from Cory here locally in Rancho Cucamonga California. This transformation was a complete surface make over along with out
Sterling Silver interior. The glass that was used was
Bronze Base Glass. This is truly a DIY project and we like to help you create your ideas to reality.
Here we begin with the old interior brick panels removed.
Below you can see the new stone being applied.
Now you can see the reflection on the walls in the
Sterling Silver panels. No, these are not just mirrors in the fireplace. If you do try this, let us know how it worked out for you. Be sure to send us pictures of your project and we will be sure to post it on our "How Not To Do It Page"! No, Really!
Again we are proud to constantly give you new and exciting products for your fireplace and fire pit projects.

The fireplace below is in Venice Beach California. This is a direct vent installation and we will now show you how easy it really is. For all of the installers out there who say it can't be done, well here you go. Pay attention now!


The glass that was installed was Starfire Base Glass on the pictures above.
The house is and was under construction so please excuse the debris around the fireplace. The pictures explain what we did. We didn't change the amount of fuel (btu's) being burned just the way it looks. Flip the switch, the ignitor lights, allowing the gas to come up through the burner and the pilot light lights the gas rising from the burner below. As for the doomsayers that tell you this can't be done, Oh Well! This will be our little secret. If you have any questions on your conversion please send us pictures and we will help you convert your direct vent fireplace as well.
Most fireplace manufactures will tell you this will void your warranty. But you need to actually read the warranty to understand what they will or won't cover. The person telling you this at the factory, ask them what the warranty actually implies. We have read many of these warranties and they won't cover the fireplace anyway. These warranties were written by attorneys to keep the liability from the manufacture and lay the blame on the consumer at any expense, no really read one.
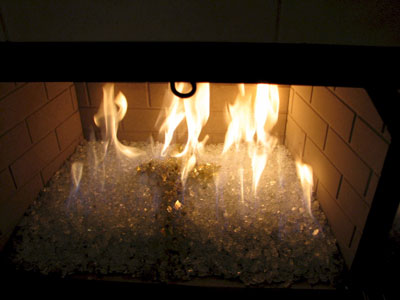
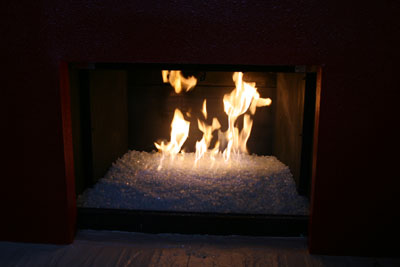
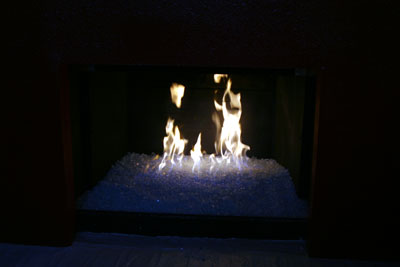
The fireplace below is a self install in Palm Springs at Tim Rockwood's. About 2" of crushed lava was used and a 2" layer of Solex Base Glass was installed over a double 18" burner. Watch how simple this really is. From ugly to one really nice fireplace.

Above and below is what it looked like when the project was started.


Below you can see the grate (noting great here) and the remote control. Too much stuff in the fireplace if you ask me.


Above, if you use a remote control, let's find a better way of hiding it? You think?
Below all of the STUFF is removed, much better!


Above and below it is now painted and the double 18" burner is installed.
Very clean look! Uncluttered!


Above the lava was poured up to the gas stub on the left side just enough to cover the burner. Be sure to leave 3 to 4" in the front for the glass. You don't want the lava all the way up front.

Now pour the glass and you have a heat producing fireplace as you were supposed to have in the beginning and it looks pretty good too!


These pictures of the fireplace were taken in the daytime if you were thinking why they were so light.

Below is our calculator on how to calculate how much you will need.
Do it yourself fireplace remodel made easy, or at least it seems that way.
First, the tile that was installed is not rated for fire. This tile would of popped off as soon as the fire was turned on. So do a little research before you begin. We can help in many ways, just call and ask.

It may have of seemed to be a good idea at the time, but it wasn't!

When redesigning a fireplace we suggest card board mache'. A card board board mock up so you can see a basic preview of your project.


Below you can see the bottom, top and mantle in card board.


Now the rip and tear process begins!

Below we installed the extra electrical for the components and the TV. The components will be installed on the right side out of view with a black glass door. This will be installed later.

Below the framing begins.


Below we now added the Durock at the fireplace opening. This is key to the whole project. Math is very important when doing these layouts!


Below you can see the slate is being added.


Above and below the fireplace is 90% finished. The mantle needs to be installed and the door on the right to conceal the components needs to be installed as well. The inside of the fireplace will have 3 pieces of black galaxy granite installed. We will post these pictures of the fireplace when it is completely finished as well.

Now for the glass installation. We started with a satin black paint on the back walls, until we install the granite. Then we bulked up the base with 2" of white sand as this will save you a bunch of money! We used sand because we were pouring Starfire Base Glass in the fireplace. If we were to use a darker color of glass we would of used our crushed lava rock as a filler. When using sand, always make sure the burner is on top of the sand.

Test the burner/ location making sure the flames don't hit the walls.


Then pour the glass!


We added a few Pink Diamonds and then later added Ice Ice Ice Topper and Clear Diamonds. These products because of the way they are made appear to be melting on the inside.


The sealer that was used was a stone enhancer, not just a regular cheap sealer. When using rock you always want to see the beauty of the stone you are using.


As you can see the mantle is still missing. We have a few more details to still do and as soon as we have time to post the pictures, they will be here.
We encourage imagination to all of our customers and we support you and your projects. Regardless how simple or how creative. This is one of the elements that spawned our success and continues to do so.
The fireplace below is from Steve Calderon and he used a Starfire Base Glass with Gold and Bronze Rust Copper Base Glass on top.
This is from beginning to end.

Above is the before believe it or not. As you can see Steve did a terrific job. This was a wood burning fireplace before. he installed a gas line and control valve on the right side.


Below you can see the old burner which we replaced with the new double 18" burner.


Mask it, vacuum it after wire brushing the walls clean.


A bit of Thermolux 1200 degree high heat paint.

Fireplace Glass used:
Pour in a Starfire Base Glass with a splash of Gold Base Glass and Bronze Rust Copper Base Glass on top.


Then you have one nice fireplace, great job!

The next several fireplace pictures are from Andy Peeke from New Jersey. Andy did the self installation with his wife. Almost a complete fireplace make over once you see. They use a Starfire Base Glass, Amber Topper and Black Topper.

The house is very nice, the fireplace right now is "YUK"!

YUK again!


We used a double "H" to give a wider flame pattern as you will see.

We also used a sand base under the Starfire Base Glass and just up to the burners, not covering them.
Just so you know, this is a two sided fireplace.

Now 2" of Starfire Base Glass.

and you're done!


The fireplace pictures below belong to John Krakowski. This is a complete make over/ transformation of his fireplace. The colors that were used are:
Bronze Base Glass,
Bronze Reflective Base Glass,
Yellow Topper,
Yellow Amber Topper,
Dark Red Orange Topper,
This is a very nice self installation: A picture is worth a thousand words!


The fireplace pictures below will show how simple and easy it actually is to install.
Here are a few comments from J.D. Harriman
John. Harriman@dlapiper.com
Subject: More proof of how easy it is to do with Moderustic providing the materials!
We are so happy with our FireGlass fireplaces (we have 3!). It has literally changed our lives in that we can use our fireplaces anytime we want with no worry about
cleaning ashes later on. Even better, the look is so superior to fake logs. All of our friends have been wowed by the look. We always send them your way.
Best regards,
J. D. Harriman
Here we go:

Above you can see how nice it WAS! YUK!
Below they painted, we always recommend painting the lines first and then painting each brick separately. Using this technique you can eliminate spots.

Install the burner. We usually recommend curling the flex line from underneath, but this works as well if your flex line is long enough. The reason for the flex line: it allows you to move the burner forward to prevent the flames from hitting the back wall.

Below the lava has been poured and test the flame pattern.

Pour the glass from the front going to the back. You can use a cup or pour from the bucket.

Turn it on and you're done!

The glass that was used is:
Starfire Base Glass,
1 lb of Gold Base Glass,
Amber Diamonds,
Ice Ice Ice Topper for one simple but nice fireplace!

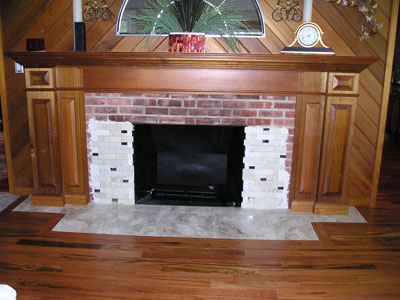
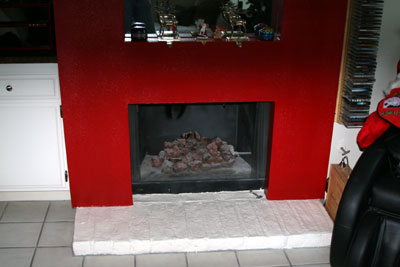
The fireplace below belongs to Marcia and here is what we did to update her fireplace:
First here is what your fireplace may looks like now, nasty!


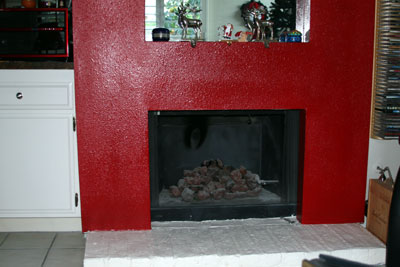
We reconfigure the pilot, burner, base plate, venturi and get it to burn properly.

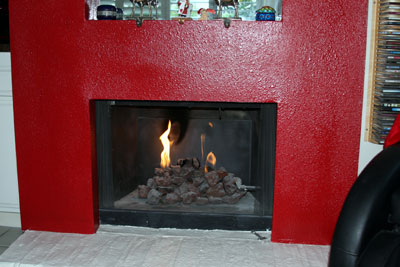
Nice flames, then we continue.

If you look below we are showing you proper pilot light placement.


Paint it and you're done!
The glass that we used was a Starfire Base Glass, Bronze Rust Copper Base Glass and Bronze Reflective Base Glass on top.


If your fireplace does not work this easy or look this simple, then we didn't do it!
Let us help you make your fireplace work right and look good.


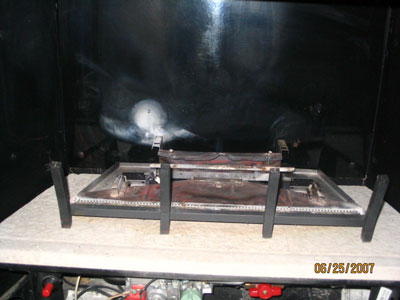
The next fireplace was installed by Ken Kenoyer. He constructed his own pan for his Direct Vent Fireplace conversion with our supervision. We will go through the steps to complete his installation. The glass that was used was a Starfire Base Glass and topped with Red Topping and Red Topper. We will explain as we move forward.

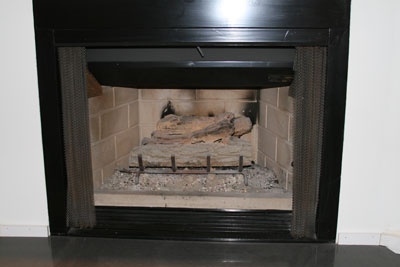
Above is your fireplace now (if you like logs).
Below is your burner system that came with your wonderful Direct Vent Fireplace and logs.

Below is a pictures of your pilot light system

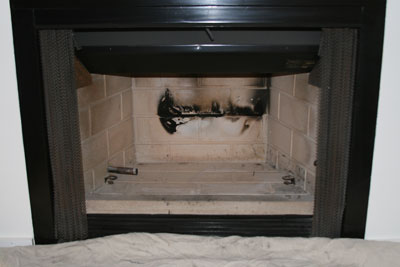
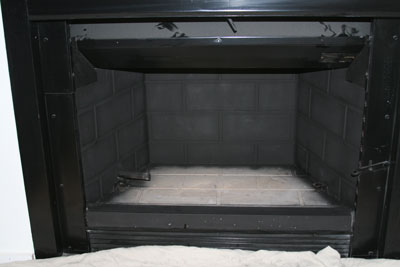
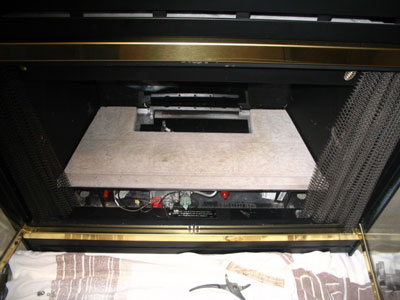
Below we have removed the "stuff" and exposed the pilot and gas connection.

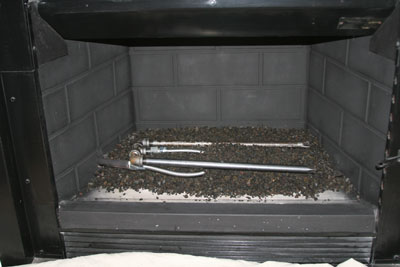
Royce built a pan to fit the fireplace.

Below he cut the pan out to accept the pilot light.

Connected the gas line.

Tested the burner.

Pour the glass and you're done! If anyone has told you that you can't convert a direct vent fireplace then these pictures and project don't exist! Just because they don't know what or how to do it, doesn't mean it can't be done.

The glass face is back on and it looks much better. A very nice and simple Self Installation!

The fireplace below was a
Self Installation by Julie and Ty Hergenrother. This is a typical Direct Vent conversion that we help hundreds if not thousands of customers convert from those nasty logs. The glass that was installed was a base of Starfire Base Glass and topped with Bronze Base Glass and Gold Base Glass.

These all start out nasty and we do what we can to change that, one fireplace at a time.


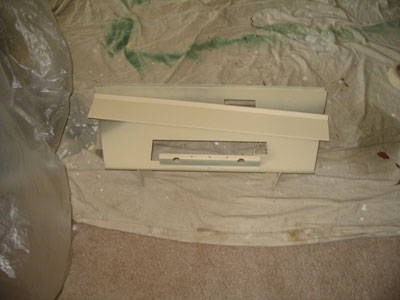
We even made the bottom face shield to make it look more uniform. This can also be done in any metal or design.

The fireplace below is in Pasadena, California. Ursula did a nice job, (2004!) but just recently she had us update it withe Sterling Silver walls.
The next 5 pictures are from Ursula in Pasadena. She just recently had us update her fireplace with a Sterling Silver interior. Nice touch!


Click below on the PICTURE to see the Cheryl Ward Surround!