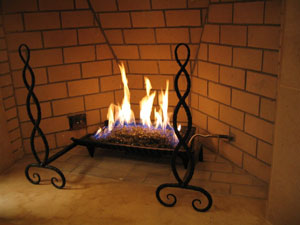
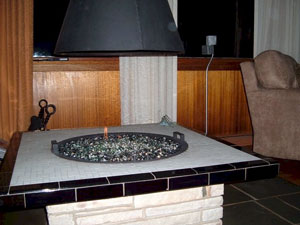
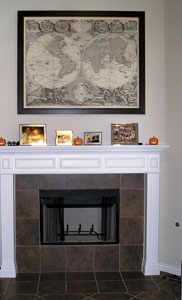
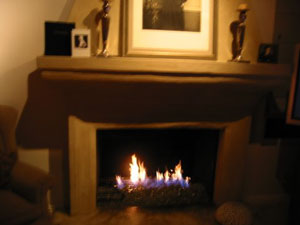
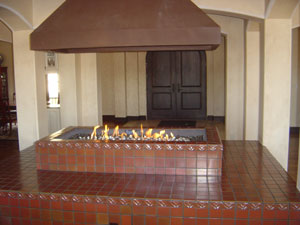
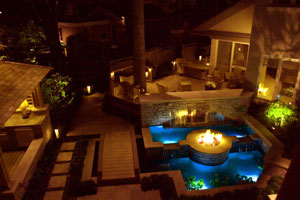
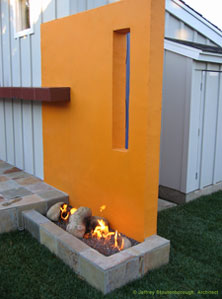
The Fire pit/ Fireplace is in the entry, pretty cool.
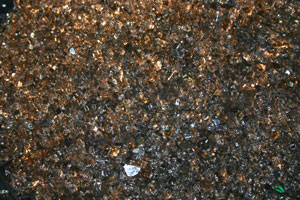
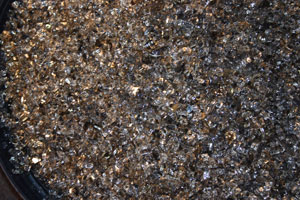
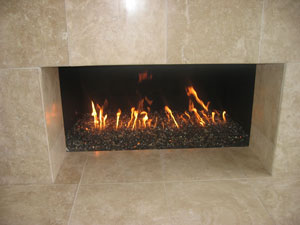
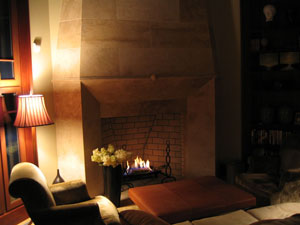
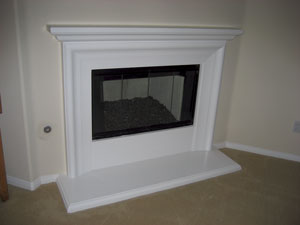
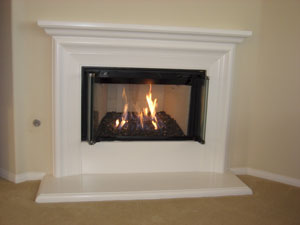
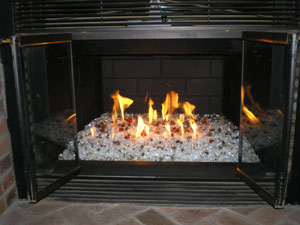
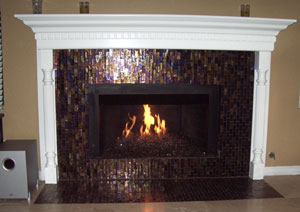
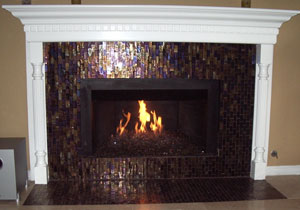
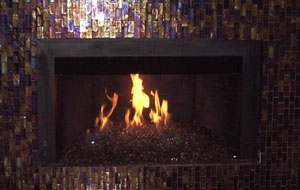
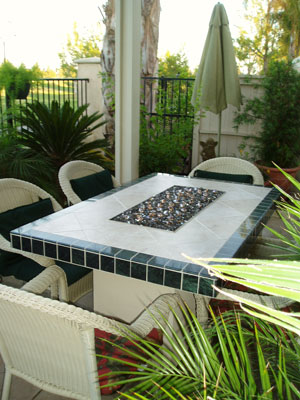
The fireplace below has Bronze Base Glass and Bronze Reflective Base Glass with ceramic tile on the outside, very modern and very nice!

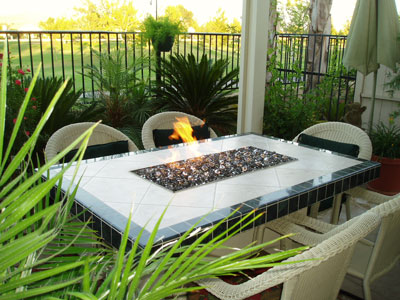
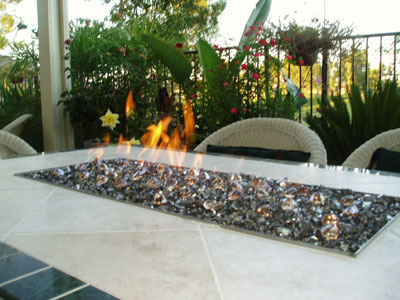
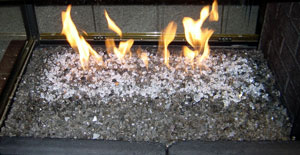
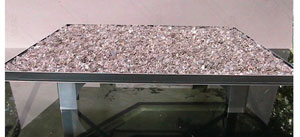
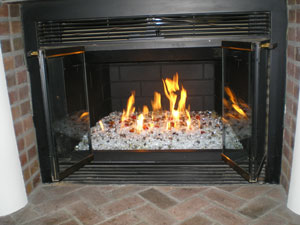
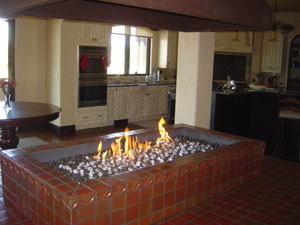
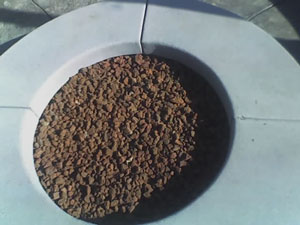
The fireplace below is a self install with a 2" base of
crushed lava18 18 double burner
CLICK HERE TO PURCHASE IN THE E-STORE!
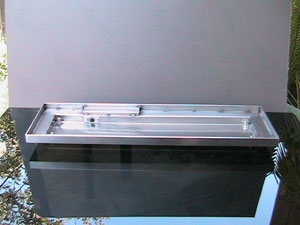
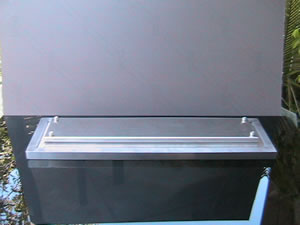
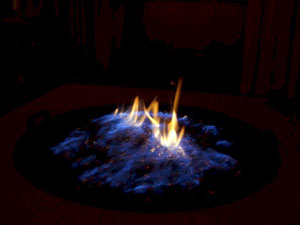
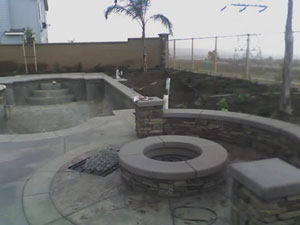
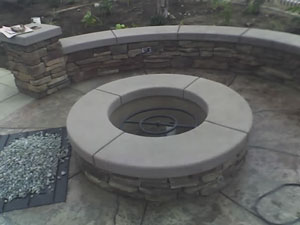
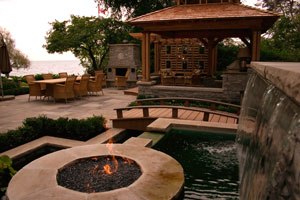
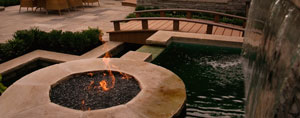
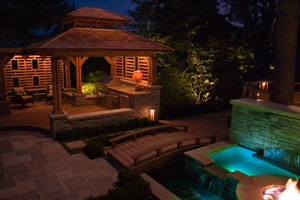
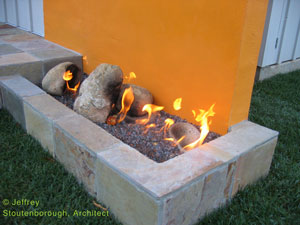
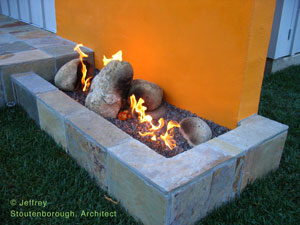
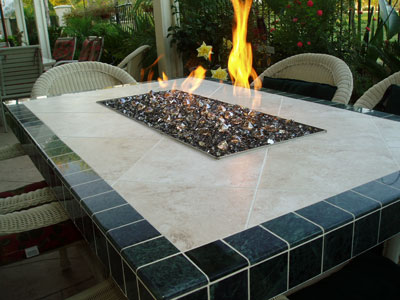
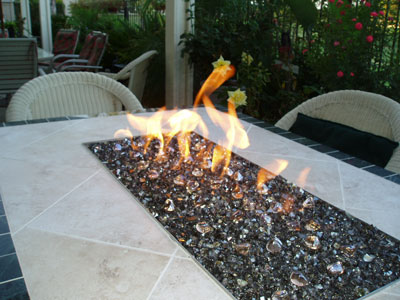
The fire pit below was designed and built by Jeffrey Stoutenborough in Santa Barbara, California.
The fire pit below is going to be installed in Sacramento on 11 14 09 for the Yard Crashers/ DIY/ HGTV show. After it is and has been installed we will post pictures on the Yard Crashers page. In the mean time here is the how to and why. We can build any size, shape, design feature you desire. We build to your imagination.
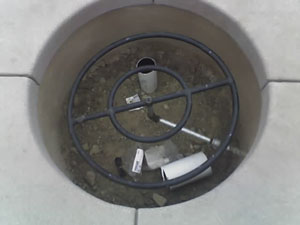
Below is the catch basin to hold the water for the feature

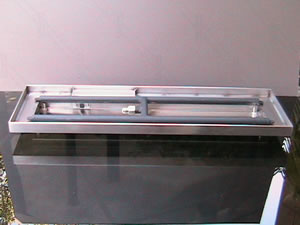
Above you see the auto fill?
Below the water pump is now install below.

Below the top pan is in place for testing with the fire and water bowls in place


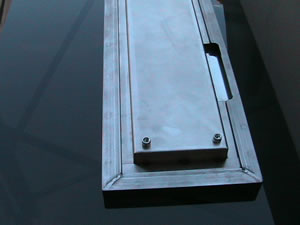
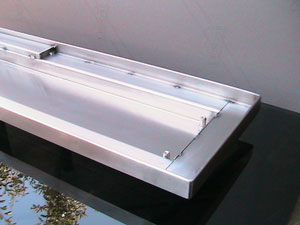
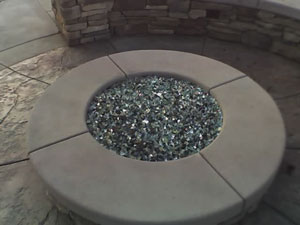
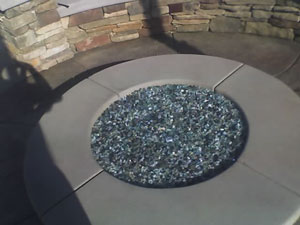
Below the stainless steel ring is installed.

Below the glass (Bronze Base Glass) has been installed and the lights turned on.
 .
.
Below you can see the pump has been turned on.

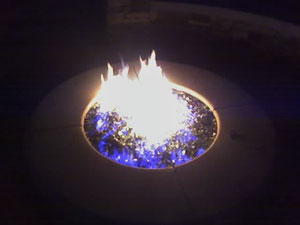
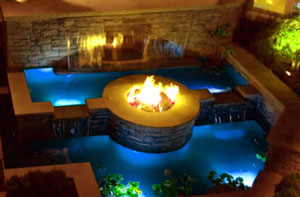
and now the fire.

We placed a card board template to replicate the table top to conceal the lights as well.

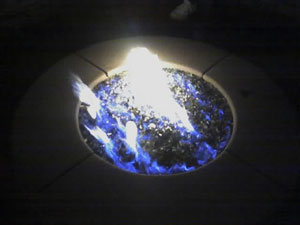
Now we add color to the water!


Here is the feature exposed with the blue water. You can change the water to any color you like.


This feature is only 6 1/2" tall. You can mount this under the table top and keep it only an inch or so above the surface of the table top.

So let's change it to red water and add Starfire Base Glass.


Remember, we build to your imagination!

The finished pictures will be posted on the Yard Crashers page when this project is installed after 11 14 09!
"CLICK HERE to see the "Yard Crashers" Sacramento show!" with this feature installed.
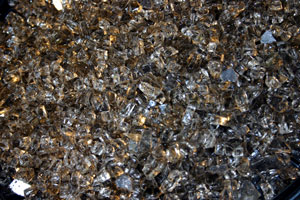
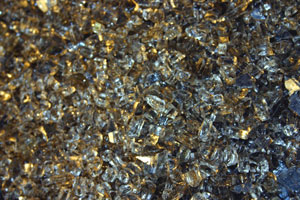
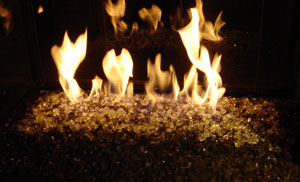
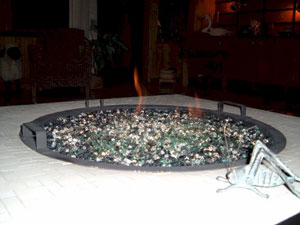
The fire water feature below was built by Don Whittaker and the glass that was used was:
Bronze Base Glass, Bronze Reflective Base Glass, Garnet Topper, Ice Ice Ice Topper and Cobalt Blue Opal Topping.
Here we go from the beginning:


CLICK HERE TO PURCHASE IN THE E-STORE! He actually started with a
Starfire Base Glass and exchanged it for a
Bronze Base Glass.
Then he topped it off with 1 lb of each of the following:
And when he finished it, it looked amazing! Take a look.
Mike has received many compliments which we constantly shares. We do understand why and we were glad to help.

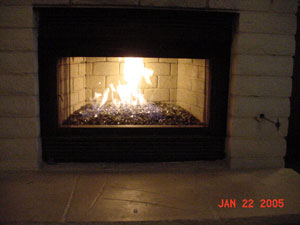
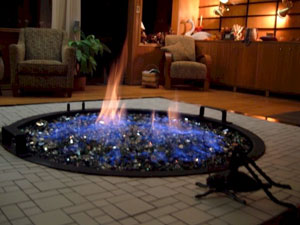
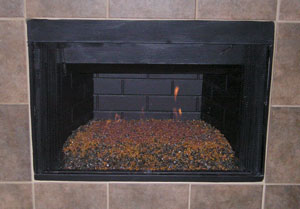
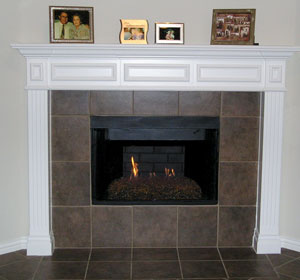
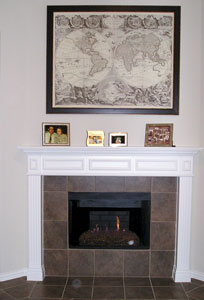
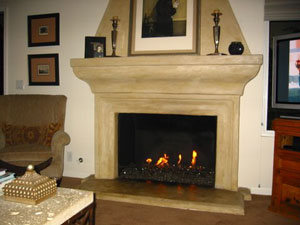
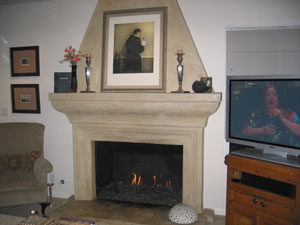
The fireplace pictures below belong to John Krakowski. This is a complete make over/ transformation of his fireplace. The colors that were used are:
Bronze Base Glass,
Bronze Reflective Base Glass,
Yellow Topper,
Yellow Amber Topper,
Dark Red Orange Topper,
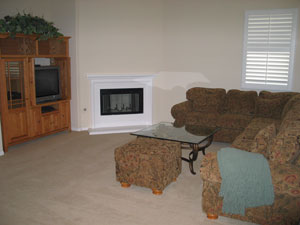
This is a very nice self installation: A picture is worth a thousand words!


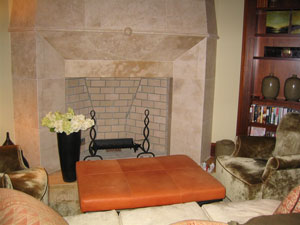
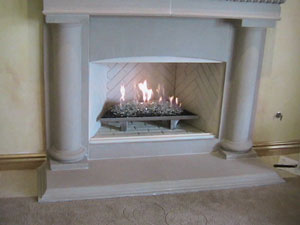
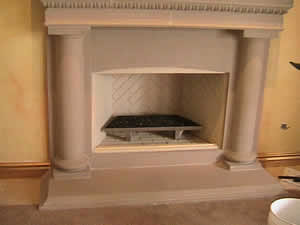
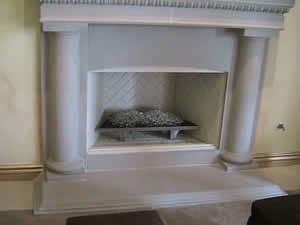
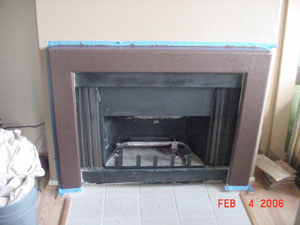
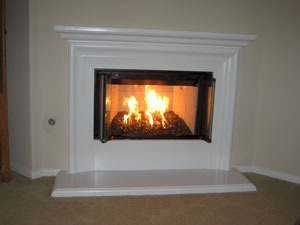
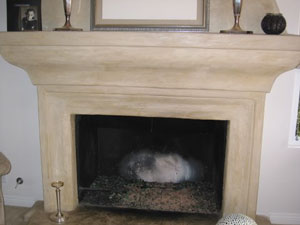
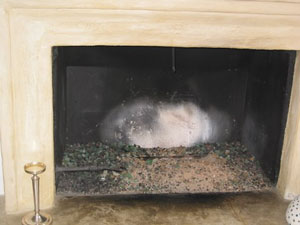
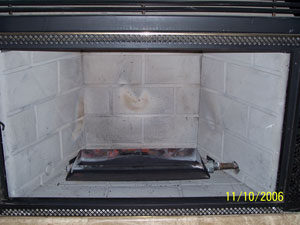
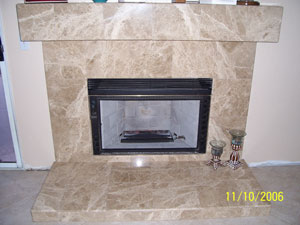
The fireplace below belongs to Marcia and here is what we did to update her fireplace:
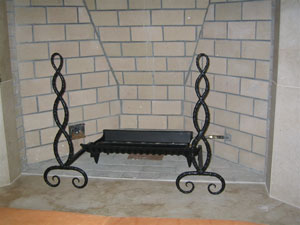
First here is what your fireplace may looks like now, nasty!


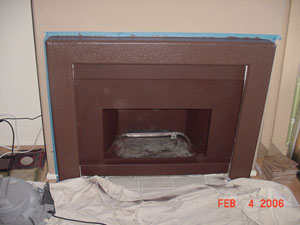
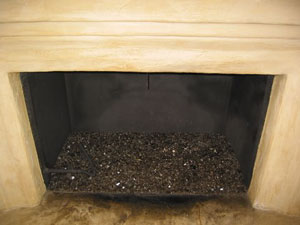
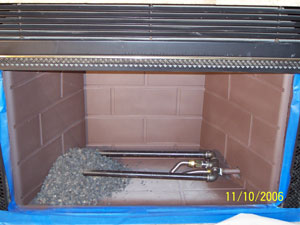
We reconfigure the pilot, burner, base plate, venturi and get it to burn properly.

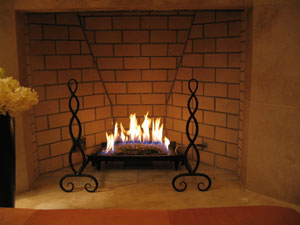
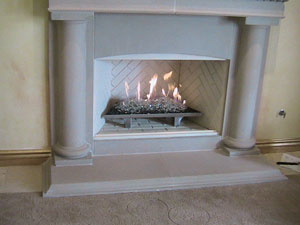
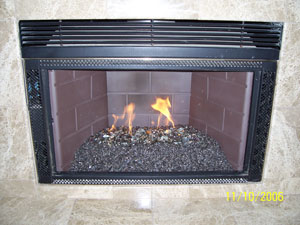
Nice flames, then we continue.

If you look below we are showing you proper pilot light placement.


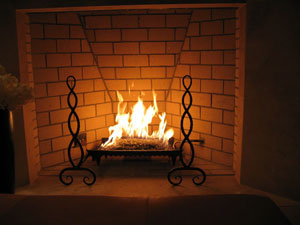
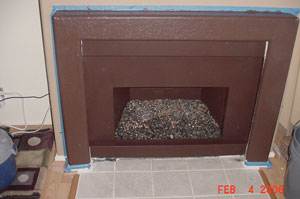
Paint is and you are done!
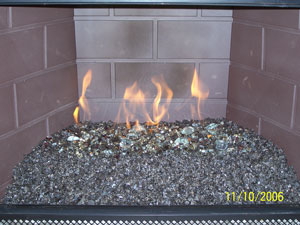
The glass that we used was a Starfire Base Glass, Bronze Rust Copper Base Glass and Bronze Reflective Base Glass on top.


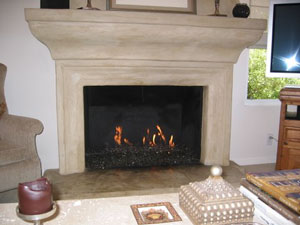
If your fireplace does not work this easy or look this simple, then we didn't do it!
Let us help you make your fireplace work right and look good.


_________________________________________________________________________________
Click HERE or on the picture below to see all of the pictures of the Corten Steel Fire Pit!

__________________________________________________________________________________