Step 2, lay a bed of
crushed lava and Install the
propane pan burner.
Fill in and all around the pan with crushed lava rock. On the left side you can see the gas connection which will soon be covered as well. This was fitted with a remote control. The glass installed was Clear Base Glass, very nice!
Now that you're finished you're ready for FIRE!
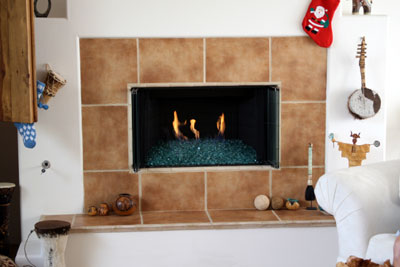
The fireplace below was installed in Palm Springs, California.
Below you can see the flame hitting the back wall creating a soot mark, not very nice looking. The customer didn't want the fireplace painted, why? There's that soot mark! If you do paint make sure the work is not spotty! That looks nasty as well.
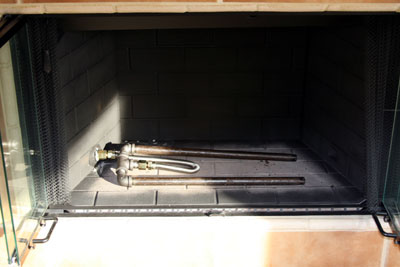
Above you see the typical hard piped burner installed which is fine for logs or lava. But this does not really work well for glass. Below you see the double burner installed with an 18" flex line.
Test the burner and some lava rock, with some Starfire Base Glass.
The fire pit below was built by Mark Showalterin Washington state. He used: Gray Base Glass and Gray Reflective Base Glass, Gray Pyrite Base Glass, Copper Ruby Red Topper, and Black Base Glass mixed in.This is the stone pot with the bottom up.
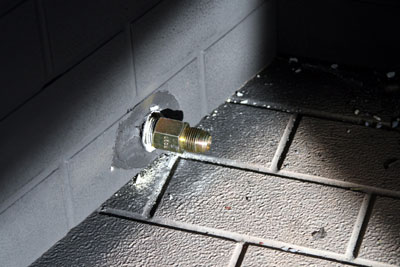
They drilled for the trimming valve to be installed.
A picture is worth a thousand words, and here you have it.
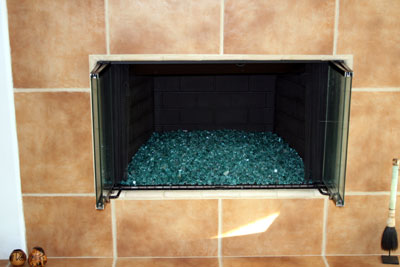
The fireplace below is a self install in Palm Springs at Tim Rockwood's.
Below you can see the grate (noting great here) and the remote control. Too much stuff in the fireplace if you ask me.
Below all of the STUFF is removed, much better!
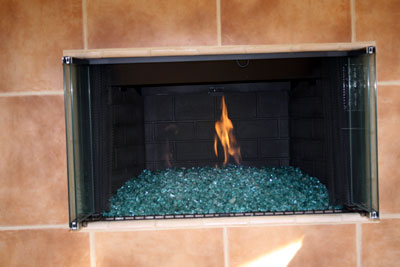
Above and below it is now painted and the double 18" burner is installed with about 2" of crushed lava.
Now pour the glass, in this instance we used a 2" layer of Solex Base Glass
So we went from ugly to nice. Very clean look!
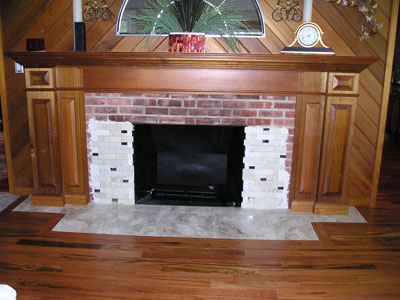
Another Do It Yourself fireplace remodel. First, the tile that was initially installed was wrong as it was not rated for fire. So one way or another the tile would of come off! For as soon as the fire was turned on the heat would of caused them to pop off! So always do a little research before hand.
When redesigning a fireplace we suggest creating a card board mock-up. A mock up can give the best preview of your project.
Below you can see the bottom, top and mantle as card board mock-ups.
Now the rip and tear process begins! Below the custom installed the extra electrical for the components and the TV. The components will be installed on the right side out of view with a black glass door. This will be installed later.
Below the framing begins.
Below he now adds the Durock at the fireplace opening.
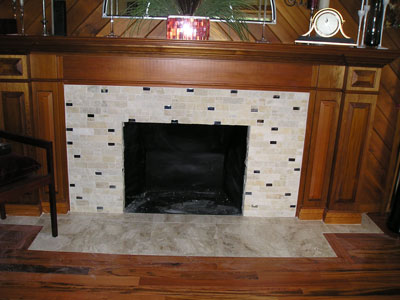
Below you can see the slate is being added as specified, never under-estimate Math in your projects - there critical to these type of projects!
Above and below the fireplace is 90% finished. The mantle needs to be installed as well as the door to conceal the remote control components. The inside of the fireplace will have 3 pieces of black galaxy granite installed.
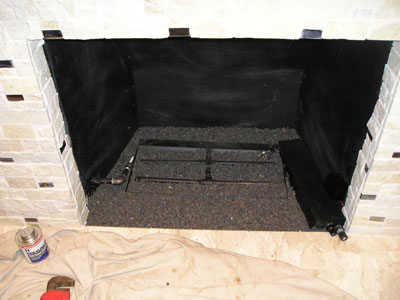
Now for the glass installation. We started with a satin black paint on the back walls, until we install the granite. Then we bulked up the base with 2" of white sand as this will save you a bunch of money! We used sand because we were pouring Starfire Base Glass in the fireplace. If we were to use a darker color of glass we would of used our crushed lava rock as a filler. When using sand, always make sure the burner is on top of the sand. Test the burner/ location making sure the flames don't hit the walls.
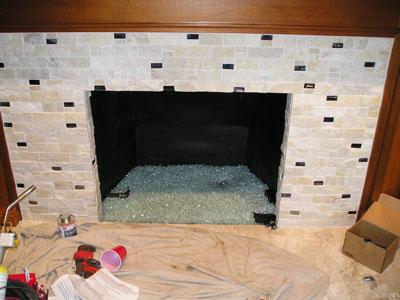
Then pour the glass!
We added a few Pink Diamonds and then later added Ice Ice Ice Toppers and Clear Diamonds. These products because of the way they are made appear to be melting on the inside.
The sealer that was used was a stone enhancer, not just a regular cheap sealer. When using rock you always want to see the beauty of the stone you are using.

The next fireplace pictures are from Andy Peeke from New Jersey who installed his glass fireplace with his wife.
Andy used a double "H" to give a wider flame pattern. He used a sand base below his H-Burner, making sure not to cover it.
Now 2" of Starfire Base Glass. And you're done!

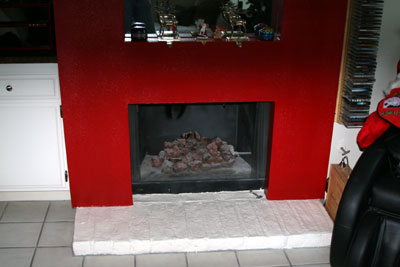
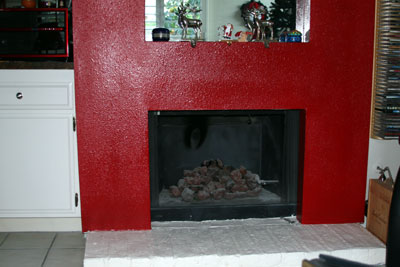
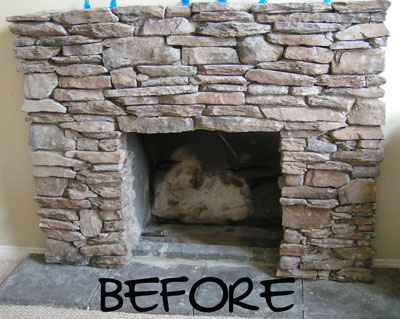
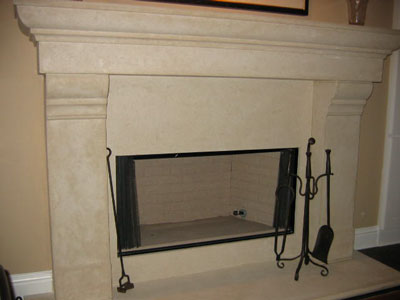
The fireplace below belongs to Marcia and here is what we did to update her fireplace. First here is what your fireplace may looks like now, dirty!
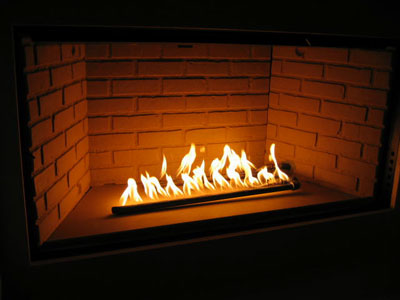
We reconfigure the pilot, burner, base plate and venting to get it to burn properly. Nice flames, then we continue.
If you look below we are showing you proper pilot light placement.
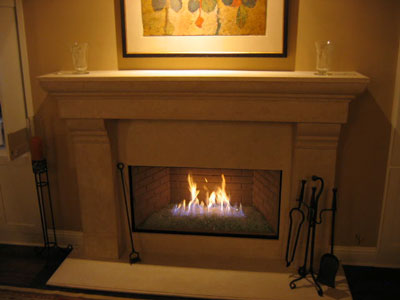
Paint it and you're done! The glass that we used was a Starfire Base Glass, Bronze Rust Copper Base Glass and Bronze Reflective Base Glass on top.
If your fireplace does not work this easy or look this simple, then we didn't do it! Let us help you make your fireplace work right and look good.
The next fireplace was installed by Ken Kenoyer. He constructed his own pan for his Direct Vent Fireplace conversion with our supervision. We will go through the steps to complete his installation. The glass that was used was Starfire Base Glass and topped with Red Topping and Red Topper. We will explain as we move forward. Above is your fireplace now (if you like logs). Below is your burner system that came with your wonderful Direct Vent Fireplace and logs.
Below is a picture of the pilot light system. Below we have removed the "stuff" and exposed the pilot and gas connection.
Royce built a pan to fit the fireplace. Below he cut the pan out to accept the pilot light.
Connected the gas line. Tested the burner.
Pour the glass and you're done! If anyone has told you that you can't convert a direct vent fireplace then these pictures and project don't exist! Just because they don't know what or how to do it, doesn't mean it can't be done. The glass face is back on and it looks much better. A very nice and simple Self Installation!
The fireplace below was a Self Installation by Julie and Ty Hergenrother. This is a typical Direct Vent conversion that we help hundreds if not thousands of customers convert from those nasty logs. The glass that was installed was a base of Starfire Base Glass and topped with Bronze Base Glass and Gold Base Glass. These all start out nasty and we do what we can to change that, one fireplace at a time.
We even made the bottom face shield to make it look more uniform. This can also be done in any metal or design. The fireplace below is a direct vent/ B vent fireplace which was installed in Dallas, Texas by Nadine Of Elegant Reflections. She started with a Starfire Base Glass and topped it with Clear Platinum Base Glass and added Purple Drops and Lilac Drops. We will start of with the before pictures, has anyone ever told you "Nice Logs"? I don't think so!
Nadine is very creative and always tries to add her personal touches.
Hi Ed,
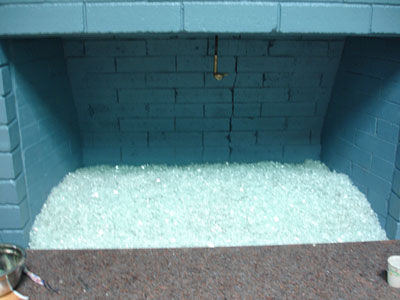
I finally managed to finish the fireplace. We have decided to place a 2" piece of metal in front (which hasn't been done yet), though, to keep the glass off the ledge. We thought it would be deep enough, but that didn't quite work.
To enable me to keep the center area smooth, we had to place the burner on top of the wall pipe, which created a rather high burner placement. This ended up creating a bit of a problem because I had a steep slope to the hearth. This is why I need to add the metal strip in front--so the glass doesn't roll down and come out of the fireplace. We had decided to not have a glass door on it, although if we find something we really like, that could change.
The pics might come in 2-3 e-mails, but I'll describe them here. The first few pics are duplicates of ones I already sent you.
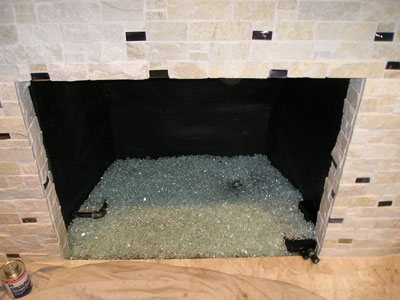
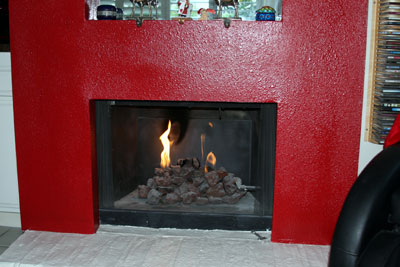
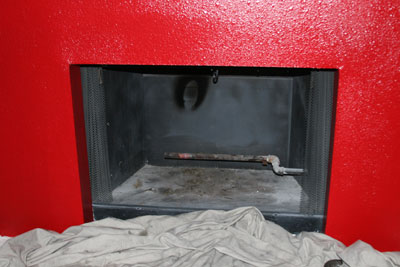
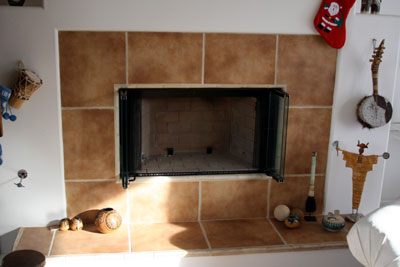
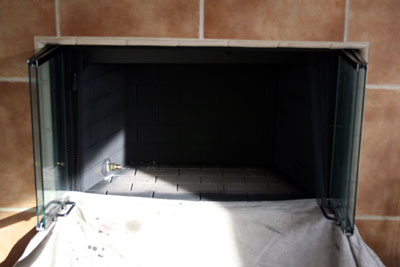
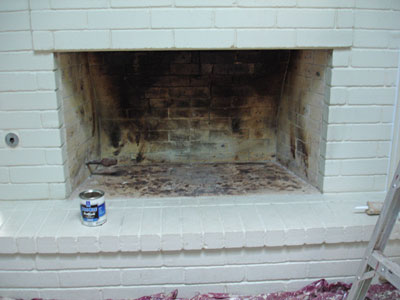
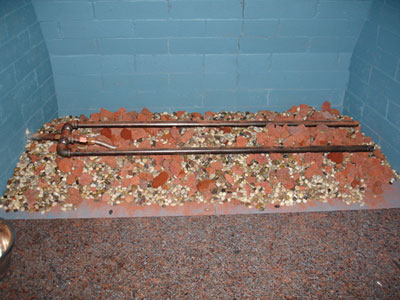
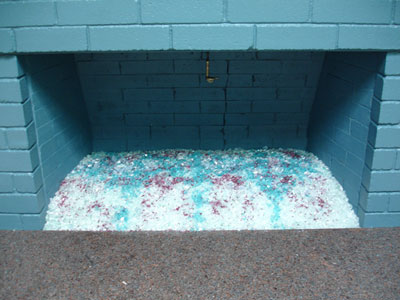
1. Original fireplace, emptied out.
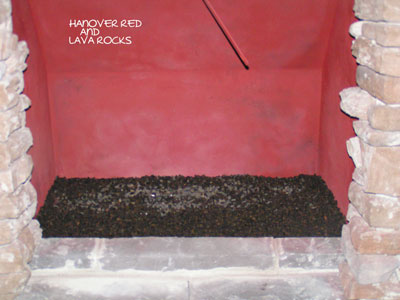
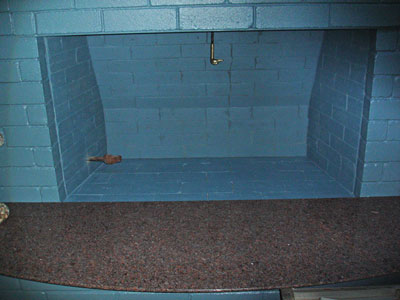
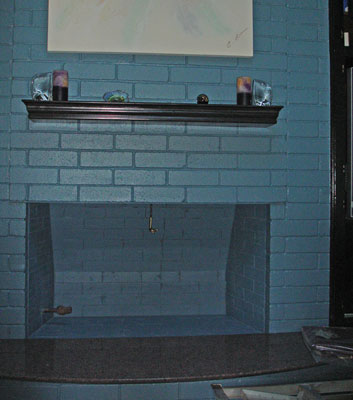
2-3. After painting with the dark blue from the chart you guys gave us. The wall was painted to match, although, I'm not sure I really like it. I'm trying to reserve judgement until I see it for awhile.
The damper handle is a brass duck head which wasn't even noticeable when it was all black.
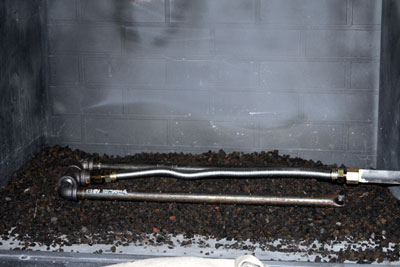
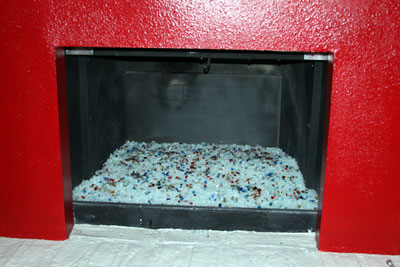
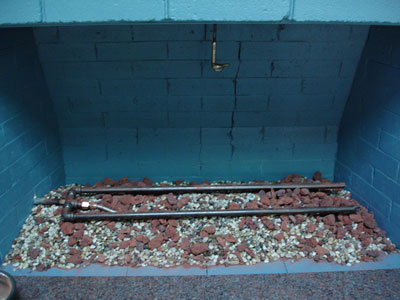
4-5.New burner in place. This created more problems than expected due to the wall pipe being higher than most. We ended up using regular lava rock, since we couldn't find the smaller rocks. Then we added small pea gravel to fill in gaps around the lava rock. After the burner was finally level, we added the sand.
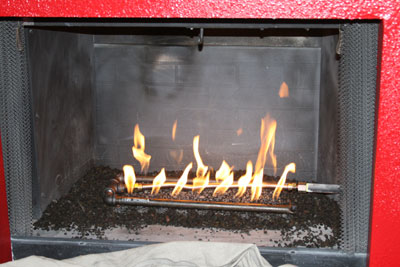
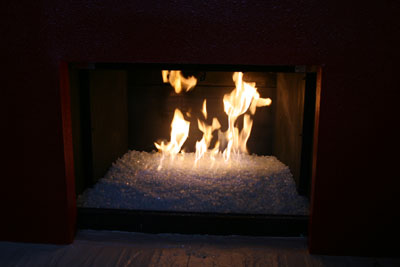
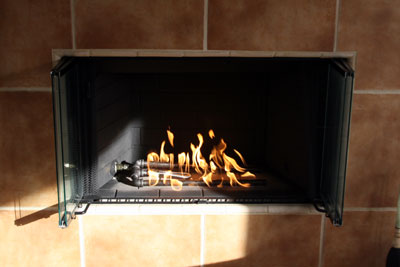
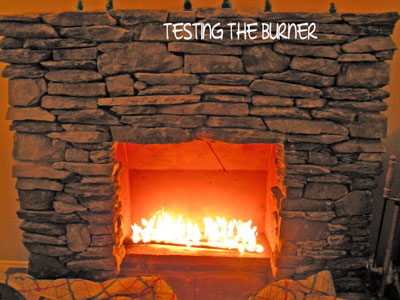
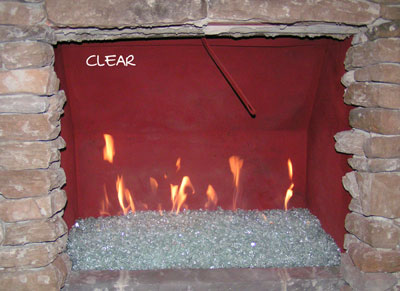
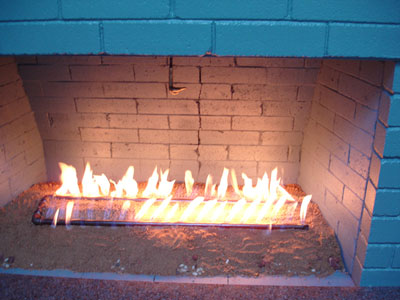
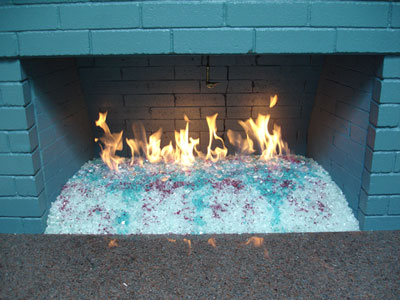
6. Testing the burner with sand added.
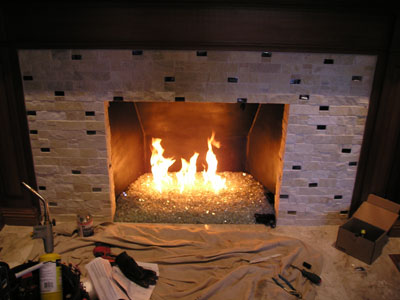
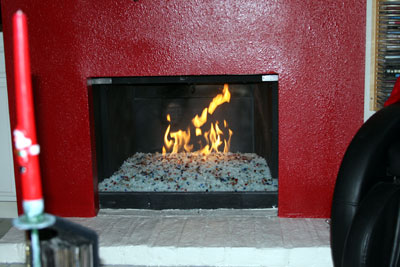
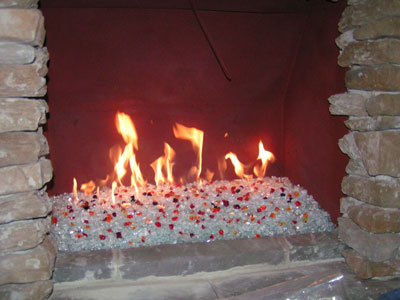
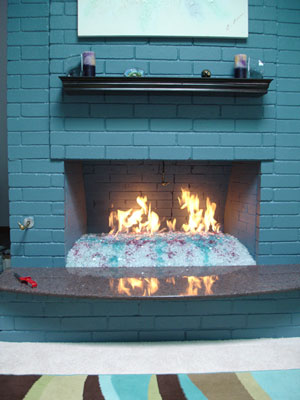
9-10. All finished and burning.
We're still working on the right side of this wall which has cabinets holding the TV and storage. Once the entire wall is finished, I'll send you one final pic of the entire wall. Not sure how soon that will happen, so don't wait for it, if you want to post these pics on your website.
I want to thank you for all your help. Your store was great to visit, so we could pick our glass out in person. Your staff was very helpful and we had a great time making our final color choices. I'll will definitely recommend you to others.
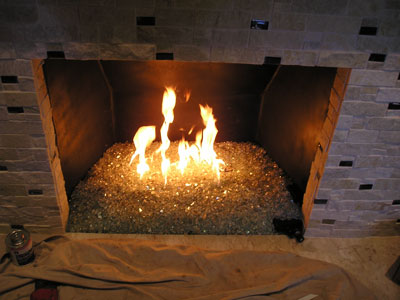
Here is another tip on How to correctly install a natural gas burner.
A picture is worth a thousand words, here are three thousand words!
Judi Weers
Senior Instructor for Art Clay
PMC Certified
crafterjudi@yahoo.com e mail any comments or questions to Judi